Crochet Bean Stitch
Learn how to crochet the bean stitch with this video tutorial!

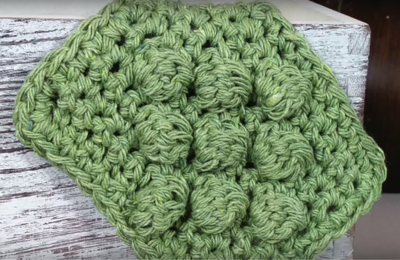
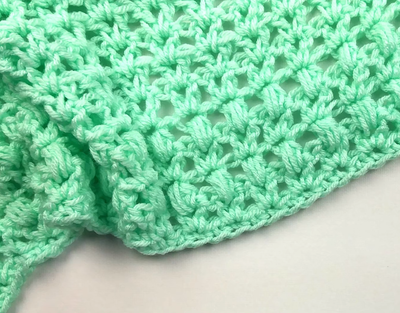
Crochet bean stitch is a delightfully squishy stitch that should make its way into your library. This bean stitch crochet tutorial with Heidi Gustad is the perfect way to learn a new stitch that will add texture to your next crochet pattern.
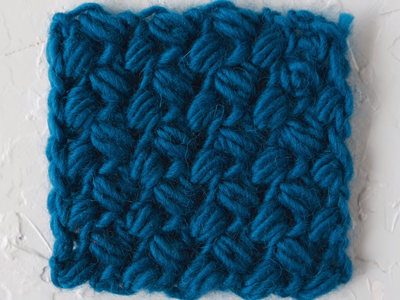
As you can see by the bumps and look of this stitch, it is a super fluffy, textural stitch that would look great in a variety of places. In order to keep that look it is important to not make your stitches too tight because you will need to draw six stitches through a loop.
Despite some of the confusion that might come with counting to make sure you have the number of loops on your hook right, the finished basketweave texture of the bean stitch would look great anywhere.
NotesYou'll need an even number of chains to begin.

Crochet HookK/10.5 or 6.5 mm hook
Materials List
- US K hook
- Full o'sheep Yarn
Crochet Bean Stitch Instructions
-
Ch a mult of 2 stitches
-
Ch 1 and turn. Right now, you should have 1 loop on your hook.
Note: click any image for larger version. -
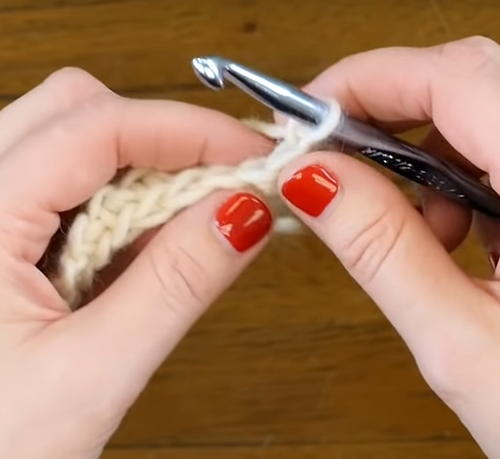
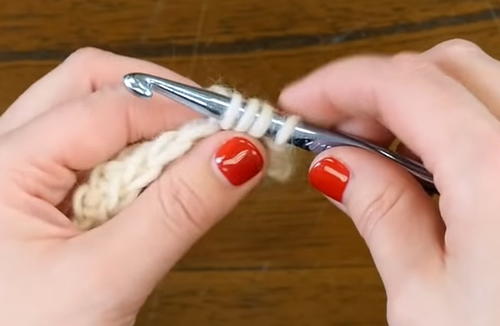
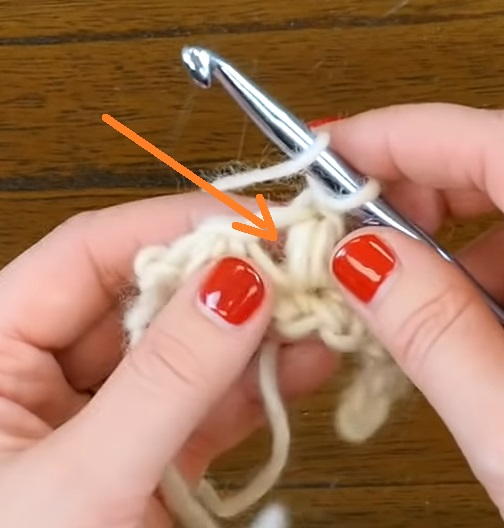
Insert hook into the next st, yarn over and draw up a loop. (2 loops on hook.)
-
Without pulling anything else through, yo again and insert hook into the same stitch, yo and pull through. Now you should have 4 loops on your hook.
-
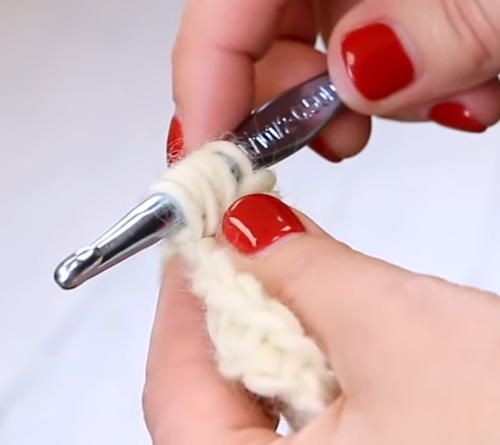
Yo again, insert hook into that same stitch and pull up one more loop (6 loops on hook).
-
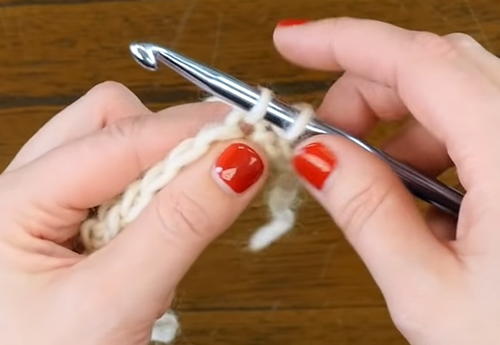
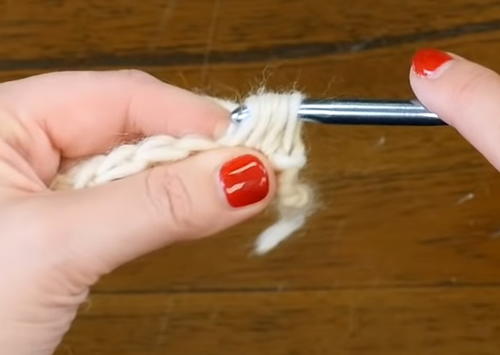
Make sure your loops aren't too tight! Now, yo one last time and draw it through all 6 loops on your hook.
-
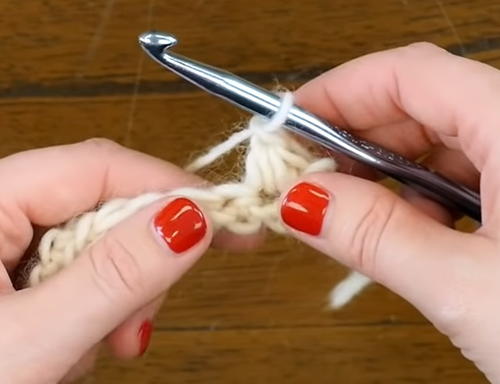
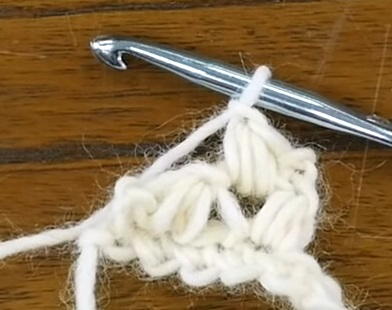
Yo and draw through to secure those stitches (ch). One bean stitch made!
-
Skip 1 chain, then do another bean stitch.
-
Continue the bean stitch across the row.
-
At the end of the row, ch 1 and turn. You'll work your next bean stitch into the larger opening to the left of your small cluster of stitches - see video for details.

Your Recently Viewed Projects
Thanks for your comment. Don't forget to share!
emom13
Feb 18, 2018
I am currently working on this, I watched the video and understood the concept but then came to the written pattern . This does not match what was in the video. There is nowhere in the video that show you slip stitching at the end of the row. When I looked at other videos not one has a slipstich in it. Can you help me with this?
Report Inappropriate Comment
Are you sure you would like to report this comment? It will be flagged for our moderators to take action.
Thank you for taking the time to improve the content on our site.