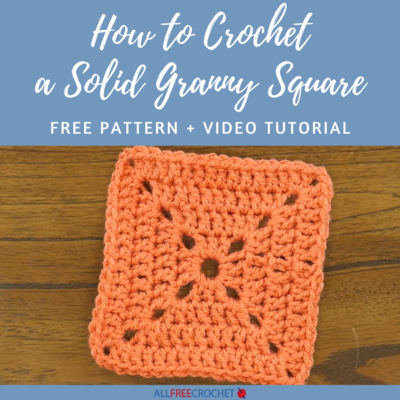
How to Crochet a Solid Granny Square
This simple crochet solid granny square pattern is one of the easiest first projects for beginners. Learn it here!
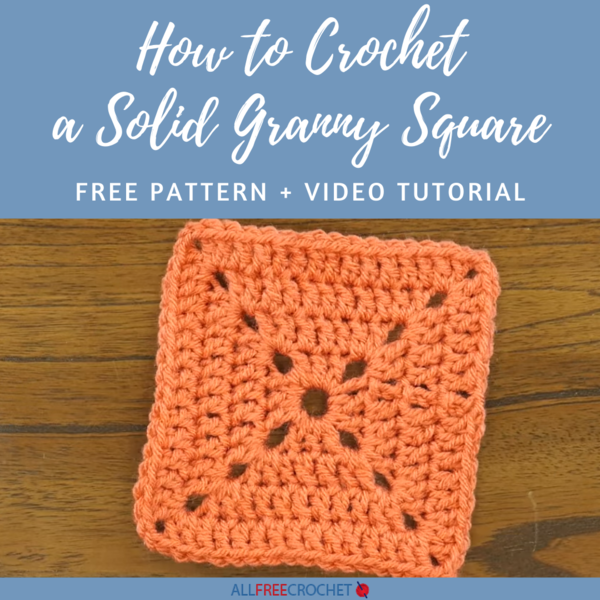
Learn how to crochet a solid granny square that's ideal for beginners. To learn this, simply watch our video tutorial and then scroll down to read through the written pattern.
Along with the written instructions, you will also find a few tips and notes, along with helpful photos to show you the progress.
This is a wonderful visual tutorial to show you just how easy creating a perfect (and classic) granny square can be. This solid granny square pattern is so easy to follow along with and recreate.
Plus, the crochet video really helps any visual learners to be able to see what exactly they are doing. You can really make this granny square pattern as fun and creative as you want, too!
Once you master this, there are so many ways to change it up by using different colors or switching up the stitches you use! Also, using a different-sized hook will result in a different finished size.
Press play to watch our YouTube video tutorial right below. Then scroll for the written pattern.

Materials List
- Yarn of choice
- Crochet hook of choice
How to Crochet a Solid Granny Square
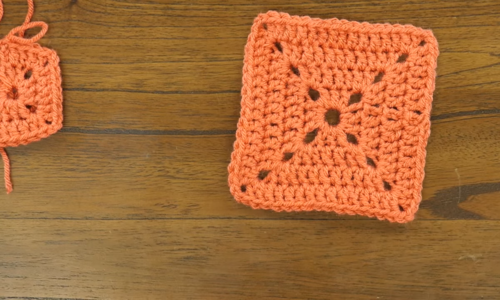
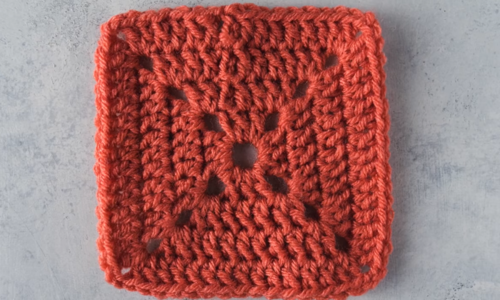
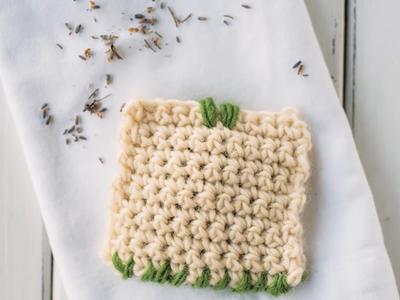
One of the reasons this granny square is perfect for beginners is that it has an easy shape to follow. Not only is it square but it has symmetrical "teardrop" shape openings going out to the four corners. While you crochet, you can watch for them to know if you're working it up correctly.
See below for the full written pattern with helpful photos showing the progress along the way. Click on any image to enlarge.
P.S. Love This? Sign Up For More Free Tutorials & Patterns >>>
Solid Granny Square Pattern:
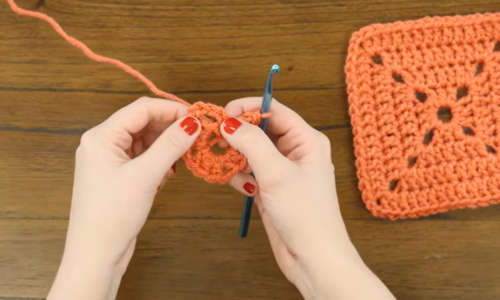
Form a magic ring and tighten the tail to reveal the base circle opening and square shape. To do this:
-
Wrap the yarn around your fingers. Chain 5 in loop,
-
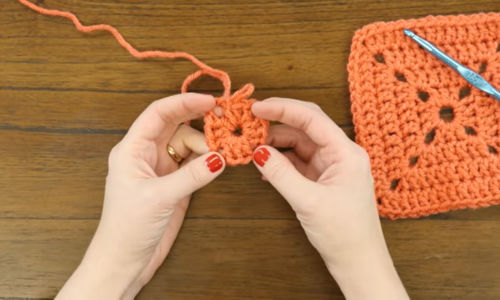
Row 1: (dc 3, ch 2) 3 times, dc 2, sl st into initial 3rd ch to join (shown in the first image below). Once you tighten the tail, it should look like the second image below.
-
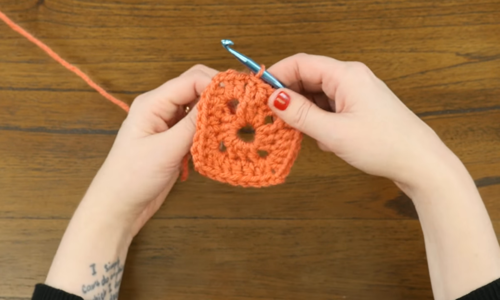
Row 2: ch 3, dc 2, ch 2, (dc 7, ch 2) 3 times, dc 4, sl st into initial 3rd ch to join.
Note: As always in crochet, the c3 is the equivalent to a dc.
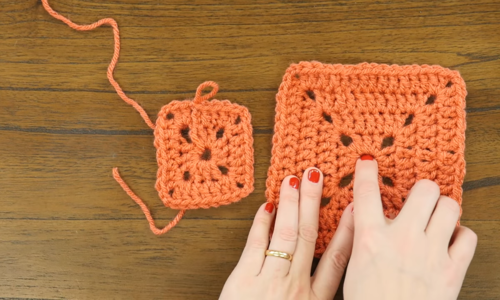
The second image below shows what your granny in progress should like (left) compared to the finished square (right.). -
Row 3: ch 3, dc 4, ch 2, (dc 11, ch 2) 3 times, dc 6, sl st into initial 3rd ch to join.
-
Row 4: ch 3, dc 6, ch 2, (dc 15, ch 2) 3 times, dc 8, sl st into initial 3rd ch to join.
-
At end of 4th rnd, break yarn and draw tail through to finish.
Note: You can stop at this point to make a standard granny or keep going to make a larger piece. It makes a great dishcloth, pillow cover, or throw!
How to Crochet a Solid Granny Square PDF
Want to save this pattern tutorial for later or print it out in an easy-to-follow format? Get our free printable PDF.
Click Here to Download
the How to Crochet a Solid Granny Square PDF
How to Print the PDF:
Printing this is as easy as 1-2-3! If you're not familiar with printing PDFs, here's the step-by-step, along with a few tips.
- Click the red button right above this section that reads, "Click Here to Download the How to Crochet a Solid Granny Square PDF". Or, just click this link here to download.
- Find and open the PDF.
Pro tip: You may see the download appear at the bottom of your browser window, and you can open it from there. Or check wherever your downloads are set to save to (the Downloads folder is often a default location).
- Click the "Print File" button, choose the printer, choose how many copies you want, make any additional adjustments needed for personal preference, and click the "Print" button.
- Grab your hook, yarn, any other supplies needed, and you'll be ready to crochet this beauty!
Your Recently Viewed Projects
Report Inappropriate Comment
Are you sure you would like to report this comment? It will be flagged for our moderators to take action.
Thank you for taking the time to improve the content on our site.

