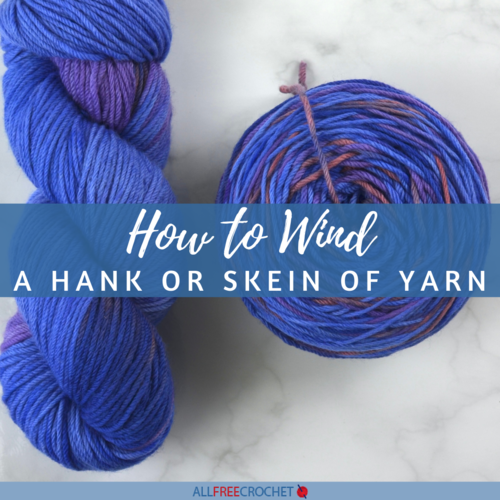
How to Wind a Hank of Yarn (or Skein)
Learn how to wind a hank of yarn without a swift or with one. This tutorial explains how to do both!
Yarn is a beautiful thing. It can be made from a variety of sources, but whether it’s made from animal or plant fibers, or synthetic, it can be turned into almost anything imaginable from cute little animals, garments, yarn bombs, and more.
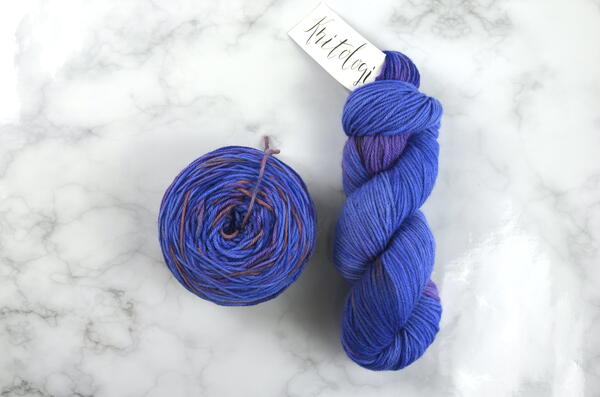
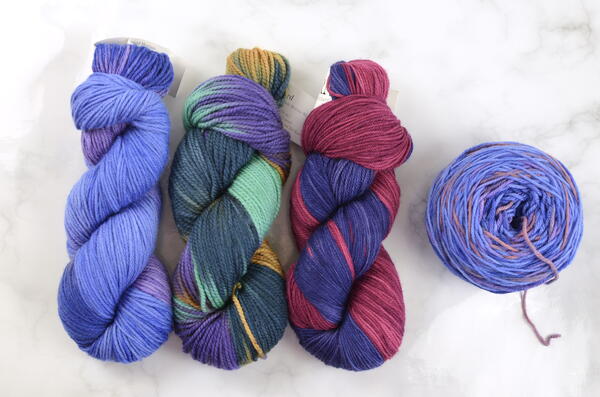
Some popular types of ready-to-use yarn are center-pull cakes, balls, cones, pull skeins, and bullet skeins, but some yarn comes in the form of a hank, folded hank, or a twisted skein. If the yarn is wound into a hank or twisted skein, then it needs to be wound. That's where this guide on how to wind a hank of yarn comes in!
A hank of yarn is a circle of yarn that has been secured with ties and then the hank of yarn can be folded and stored or it can then be twisted. A twisted hank of yarn is commonly referred to as a twisted skein of yarn.
Either way, yarn can be beautifully arranged like this, but it is not ready to be used. If it is used like this, tangling becomes a big probability. The yarn needs to be wound into some kind of ball or cake and it is pretty simple and easy to do even if you do not have special equipment like a yarn swift or a yarn winder.
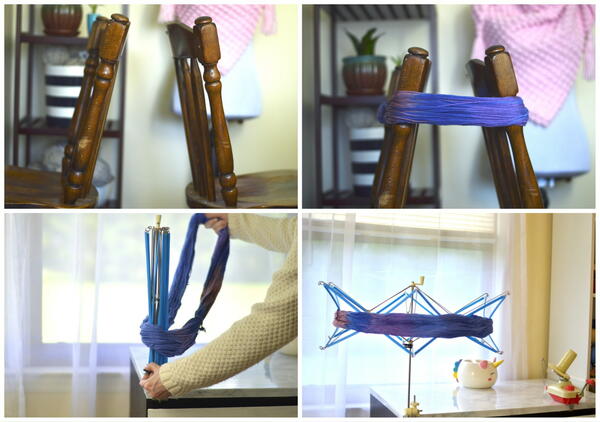
A yarn swift is an umbrella-like apparatus that opens up the circle of yarn, keeping it neat and tidy as it spins around. If you do not own a yarn swift, two chairs that have backs can be used in place of the yarn swift.
A yarn winder is a little gadget that is used to wind yarn into a center pull cake, but if you do not have a yarn winder, you can easily wind the yarn into a ball by hand onto a thumb. Follow the tutorial below to see how easy it is to turn a beautiful twisted skein of yarn into an easy-to-use center pull cake or ball.
Sign Up For More Free Patterns >>>
Materials Needed:
- Knitology by Knitcrate Worsted Weight Yarn or other yarn in the form of a hank or skein
- Yarn Winder or hands
- Yarn Swift or 2 chairs with backs
How To Wind a Hank of Yarn (or a Skein of Yarn):
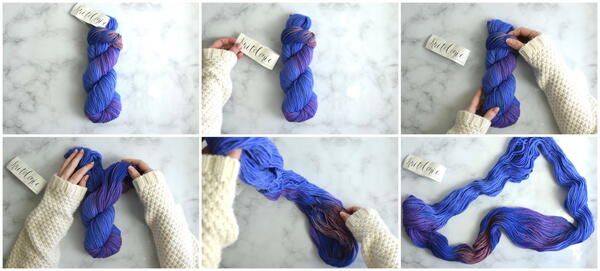
- Take the label off of the skein or hank of yarn and untwist or unfold it until it is just a big circle of yarn.
- Put the yarn on a yarn swift. If you do not have a yarn swift, you may use 2 chairs that have backs.
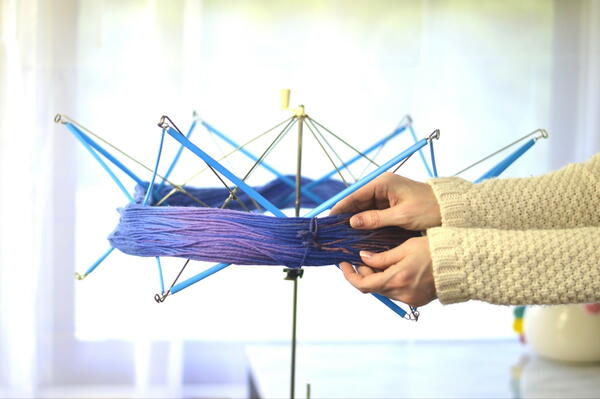
- Check the circle of yarn to make sure that it is not twisted on the swift or the chairs. Tidy and straighten it up if necessary.
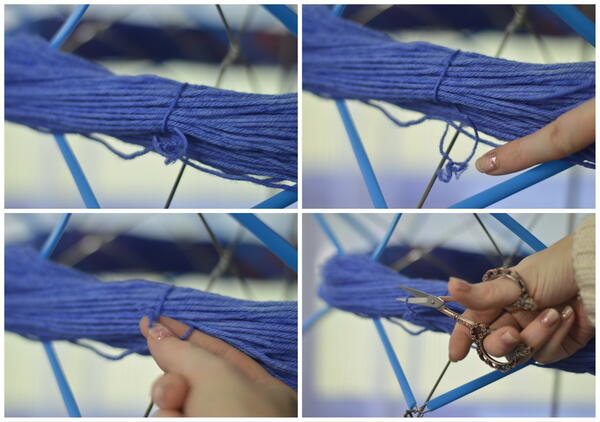
- Look around the circle of yarn and find the ties. Cut the ties next to the knot. There are normally between 1 and 3 ties on each hank of yarn.
- Find an end and unwind one circle of yarn to make sure that it is unwinding easily. If not, straighten up the circle of yarn.
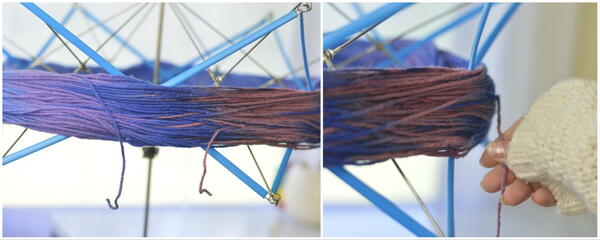
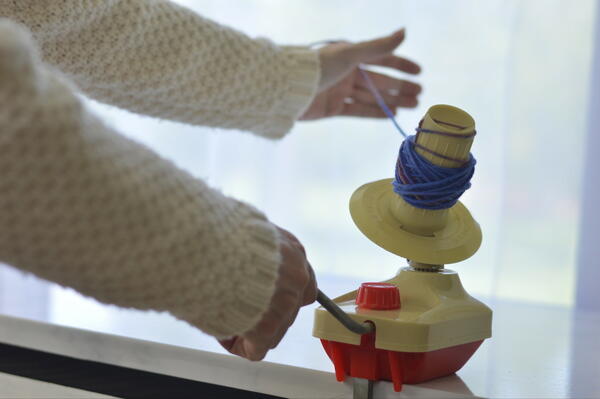
- Wind the yarn into a cake or a ball. If using a yarn swift, take the end of the yarn and put it through the eye of the yarn swift. If you are winding by hand, skip ahead to step 13.
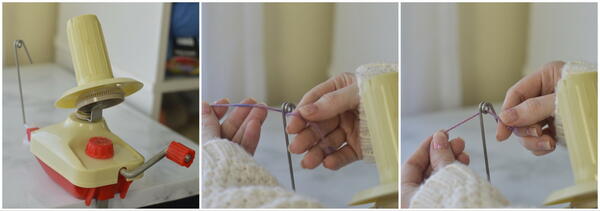
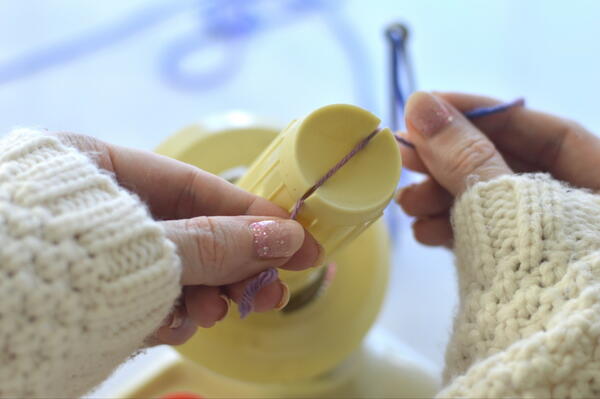
- Place the end of the yarn into the top of the yarn swift.
- Pick up the yarn between the yarn swift and yarn winder and gently hold it in your hand so that the tension can be monitored and kept even. If the yarn suddenly becomes tangled on the swift, close your hand to stop and catch the yarn.
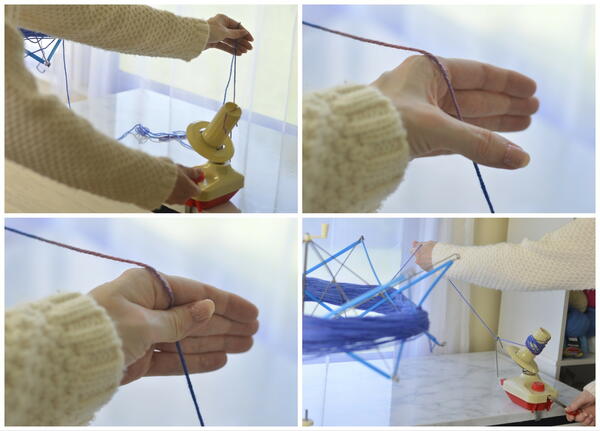
- Use the handle on the yarn winder to wind the yarn until you reach the end.
- Tuck the end of the yarn into the side of the yarn cake made.
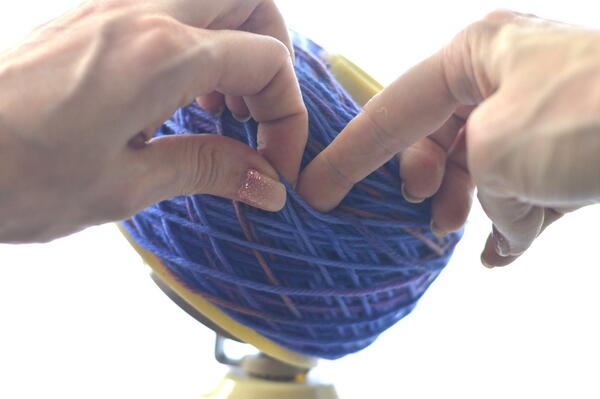
- Find the center pull end of the yarn, and hold it while gently lifting the yarn cake off of the yarn winder.
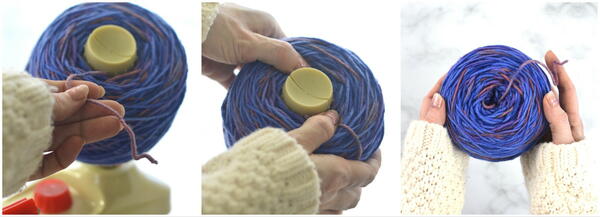
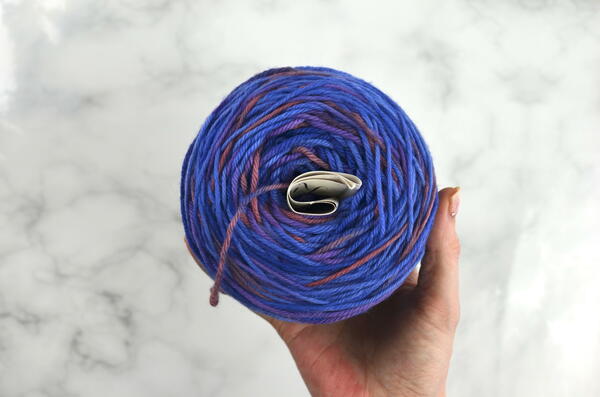
- If you are not going to use the yarn now, you can put the label in the center of the yarn.
- If you are winding the yarn by hand, find the end of the yarn and start unwinding it around the chairs.
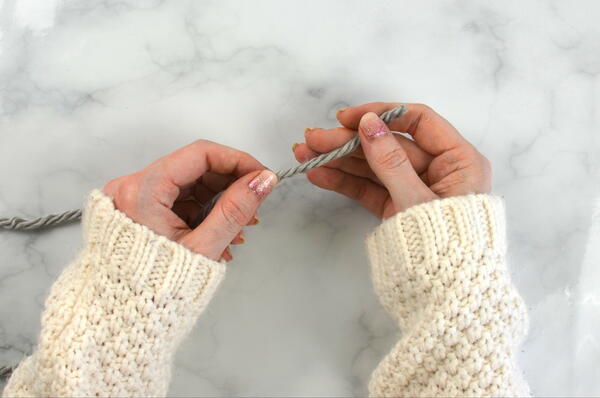
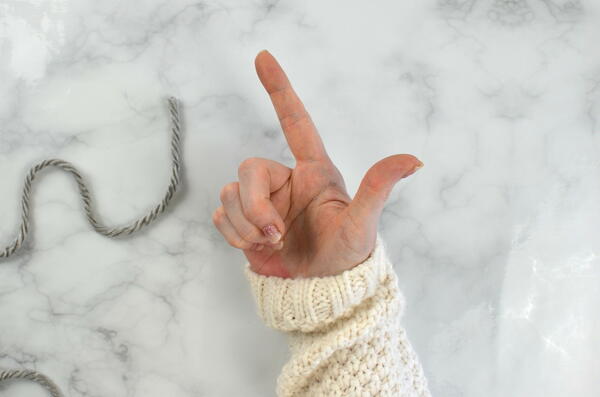
- Point your index finger and thumb upwards.
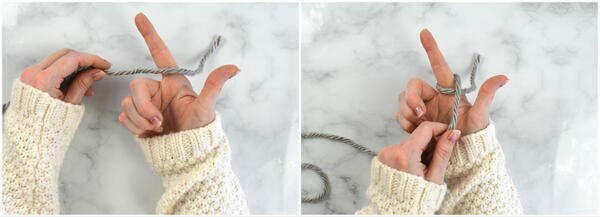
- Lay the end of the yarn across your pointer finger and then wrap it around to the front.
- Wrap the yarn around the thumb.
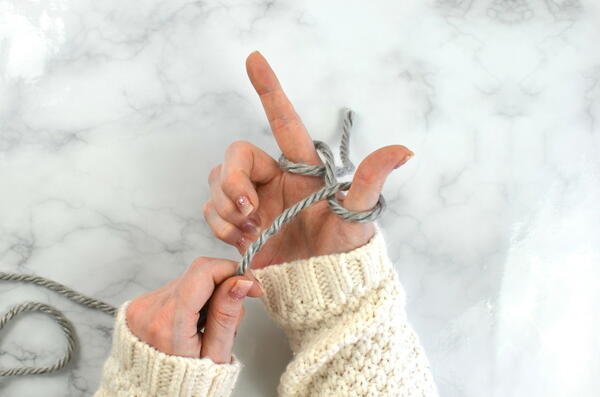
- Wrap the yarn around the pointer finger.
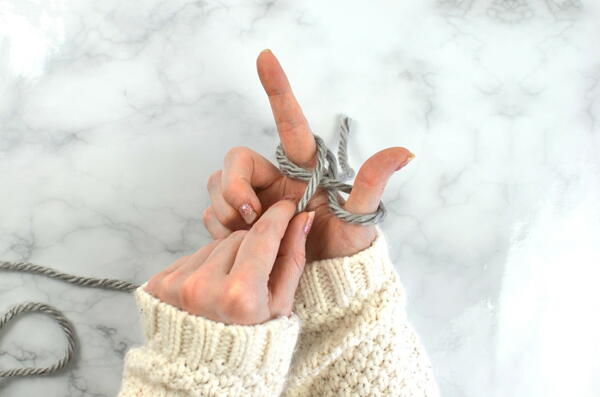
- Wrap the yarn around the thumb.
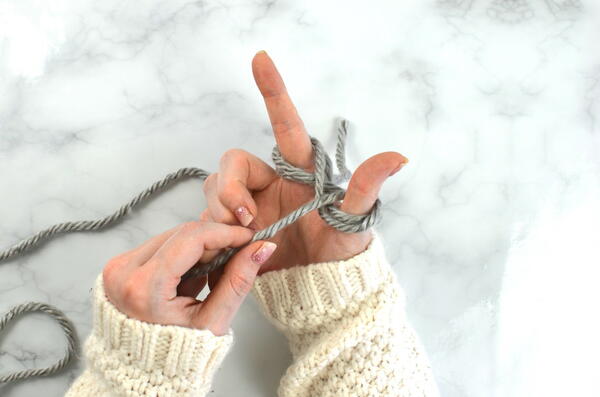
- Continue wrapping the yarn around the pointer finger and the thumb a few more times.
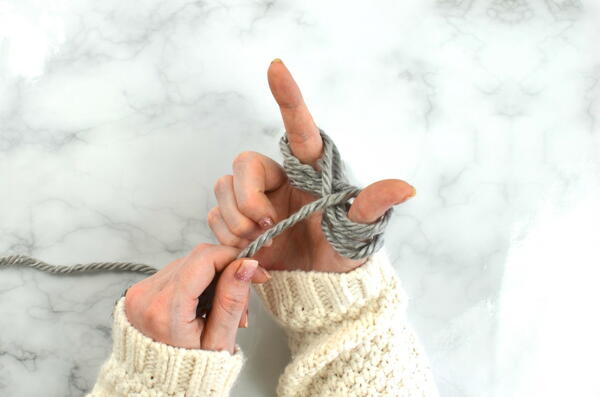
- Slide the loop of yarn off of the pointer finger and onto the thumb.
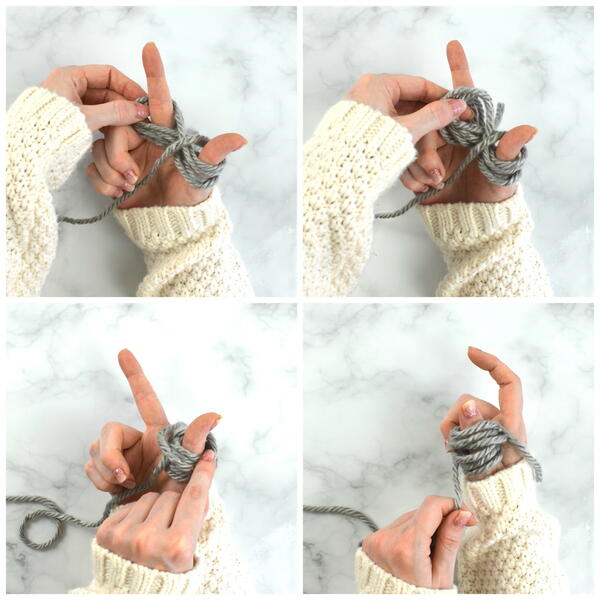
- Start winding the yarn around the thumb.
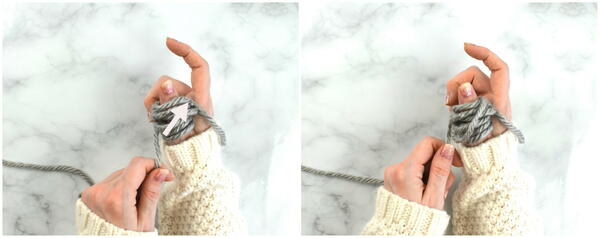
- Wrap the yarn around the thumb a few more times in the same direction.
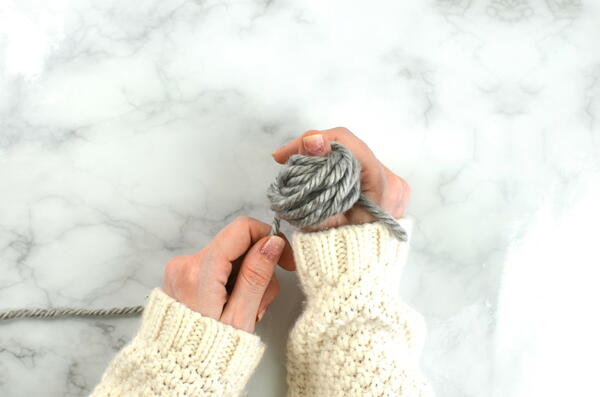
- Flip your hand so that you can wrap the yarn around the thumb in the opposite direction.
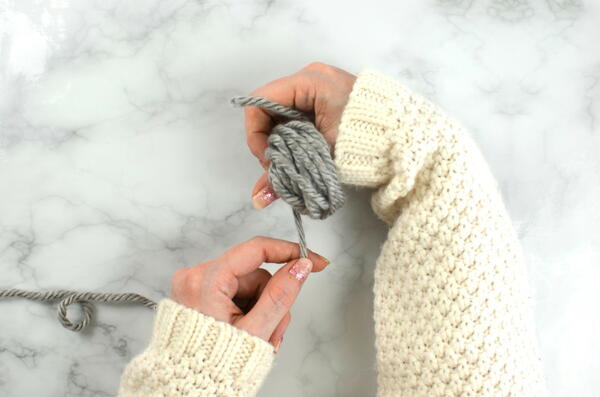
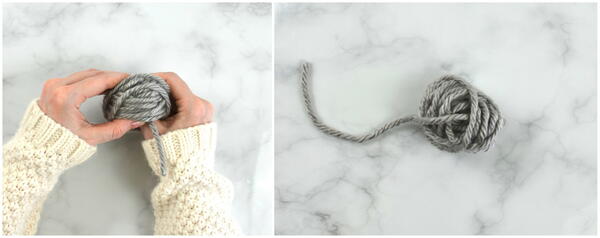
- Wrap the yarn around the ball a few more times in the same direction and then switch back and forth, making the ball as proportional as possible.
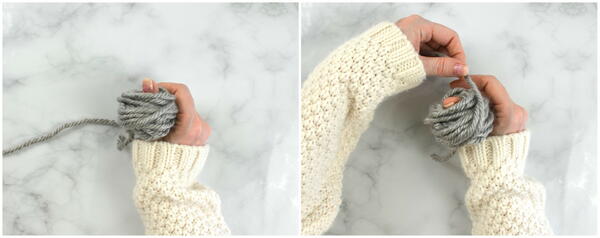
- Slide the ball of yarn off of the thumb, tuck in the outside end of yarn and it can now be used!
About the Author

Alexandra Halsey is a stay at home mommy who loves sharing her crochet designs and teaching others how to crochet, cook, and be creative through her blogs and video tutorials.
Visit her YouTube channel and her blog, With Alex, to learn more. Visit her designer profile on AllFreeCrochet to see everything she has shared with us, too!
Links:
With Alex Website
With Alex Blog
YouTube Channel
Facebook
Instagram
Pinterest

