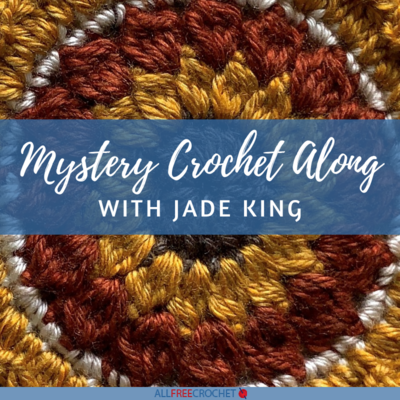
October 2022 Mystery Crochet Along
Join us every week in October to make a beautiful crochet project. The finished design will be revealed at the end of the month!
Join this crochet along by signing up for the free Hooked on Crochet newsletter! You'll get alerts to the weekly clues delivered right to your inbox. Sign up here!
Greetings, fellow crochet friends! I’m Jade from Sweet Softies, and I’m excited to share with you this fun crochet-a-long project that is both beautiful and functional! To share a bit about me, I’m a crochet designer and blogger who loves making anything and everything, including amigurumi, clothing, accessories, home decor and goods, baby/kid items, and more. I provide a number of free patterns on my blog, tutorials on my YouTube channel, and share freebies with my newsletter subscribers on a weekly basis. I love to inspire with my joy for yarn crafts and the sweet things in life, so please do join me in my ventures if you feel the same!
My favorite thing about being a pattern designer is being able to see fellow crocheters’ finished products from my designs, hearing your stories, and being a part of this beautiful crochet community! I can’t wait to see what you make. Happy crocheting, sweet friends!
Now, I can’t give away TOO much detail about this mystery project, but here’s what I can say about this pattern:
-- It includes a gorgeous applique that is versatile and can be used in many ways!
-- It allows for a lot of customization with both yarn color combinations and finishing touches. Don’t be afraid to let your creative juices flow!
-- It’s beautifully fall-themed with my color choices, but can be made with other colors as a year-round accessory!
-- It makes a lovely handmade gift as well!
Stitches and Materials
Stitches:
MR: magic ring
Sl st: slip stitch
Ch: chain
Sc: single crochet
Dc: double crochet
Materials:
5mm hook and 6mm hook
Approx. 100 yards medium weight 4 yarn - I used a combination of Caron Simply Soft tweeds and Lion Brand Heartland in the following colors for an autumn theme -
- Caron Simply Soft Tweeds - Off White
- Caron Simply Soft Tweeds - Taupe
- Lion Brand Heartland - Bryce Canyon
- Lion Brand Heartland - Yosemite
Yarn needle
Scissors
Two wooden beads
Medium wooden button
Optional: Two 12”x12” fabric squares
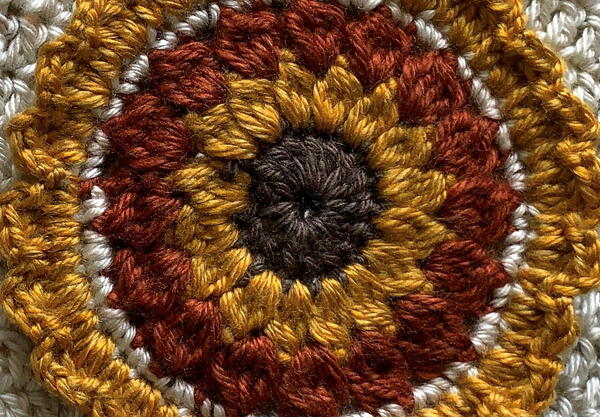
Part 1: Floral Applique
Special Stitches:
-- Beginning Small Cluster (beg-small-cl): ch 3, (YO, insert hook into stitch, YO, pull through, YO, pull through 2 loops on hook) x 2. YO, pull through 3 loops on hook.
-- Small cluster (small-cl): (YO, insert hook into stitch, YO, pull through, YO, pull through 2 loops on hook) x 3. YO, pull through 4 loops on hook.
-- Beginning Big Cluster (beg-big-cl): ch 3, (YO, insert hook in ch-1 sp, YO, pull through, YO, pull through 2 loops on hook) x 3. YO, pull through 4 loops on hook.
-- Big cluster (big-cl): (YO, insert hook in ch-1 sp, YO, pull through, YO, pull through 2 loops on hook) x 4. YO, pull through 5 loops on hook.
Use the 6mm hook and white yarn.
R1: Starting with a MR, ch 3 and insert 16 dc in the ring. Join with a sl st to the first dc. (16 dc)
R2: Insert a beg-small-cl in the first st. Ch 1. Insert a (small-cl + ch 1) in each of the next 15 sts in the round. Join with a sl st to the top of the beg-small-cl. (16 clusters)
R3: Sl st into the first ch-1 gap. Insert a beg-big-cl in the same ch-1 gap, then ch 2. Insert (big-cl, ch 2) in each of the next 15 ch-1 gaps. Join with a sl st to the top of the beg-big-cl. (16 clusters)
R4: Ch 1, sc in same st. Insert 2 sc in each of the ch-2 gaps, and 1 sc above each of the big-cl. Repeat around. Join with a sl st to the first sc.
R5: (Ch 2, insert small-cl in next st, ch 2, sc in next st), repeat around. Join with a sl st to the st where you started this round.
FO and weave in the ends.
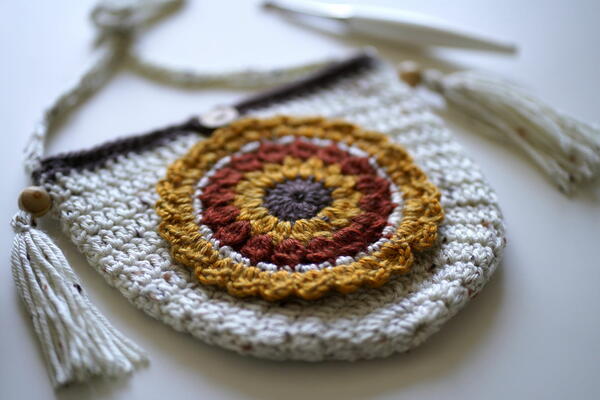
Note: If you wish to change yarn color while making this applique, for instance in order to achieve the sunflower design in the photos, simply add the new color by pulling it through all loops in the last stitch prior to the next round. For example, if you are switching from brown in R1 to yellow in R2, you will pull yellow yarn through the loops of the last st in R1 and continue crocheting with yellow yarn in R2.
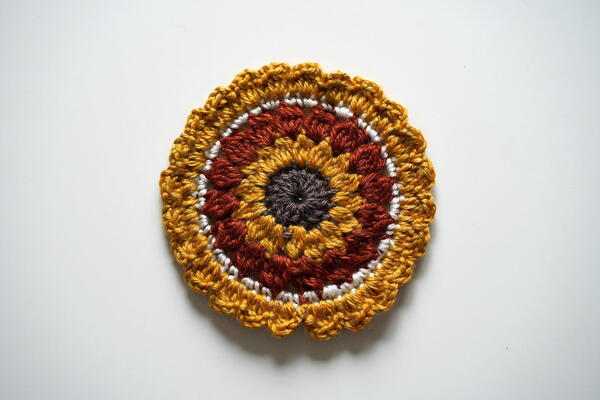
Part 2: Bag
Notes:
-- *Join all rounds with a sl st to the first dc (or sc).
-- Dc-inc is a “double crochet increase”, which means to insert 2 double crochet stitches in the same stitch.
Start with main bag color yarn (off-white) and a 5mm crochet hook.
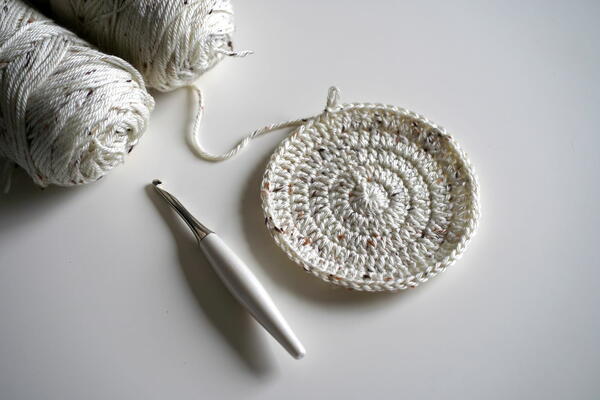
R1: Starting with a MR, ch 3 and insert 12 dc. *Join with a sl st to the first dc. (12 dc)
R2: Ch 3, dc-inc around. *Join. (24 dc)
R3: Ch 3, (dc, dc-inc) around. *Join. (36 dc)
R4: Ch 3, (dc 2, dc-inc) around. *Join. (48 dc)
R5: Ch 3, (dc 3, dc-inc) around. *Join. (60 dc)
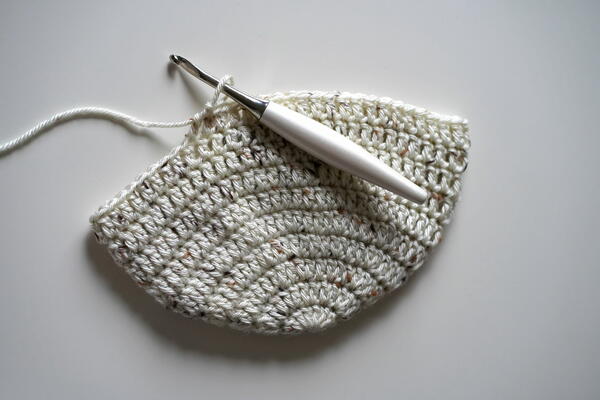
R6-R15: Ch 3, dc around. *Join. (60 dc)
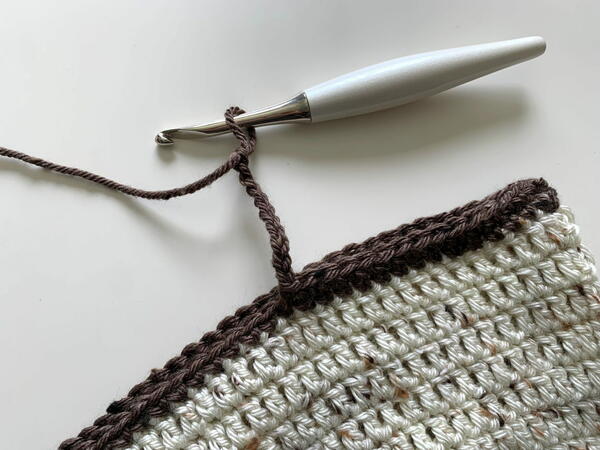
Switch to contrast color yarn (brown).
R16: Ch 1, sc around. *Join. (60 sc)
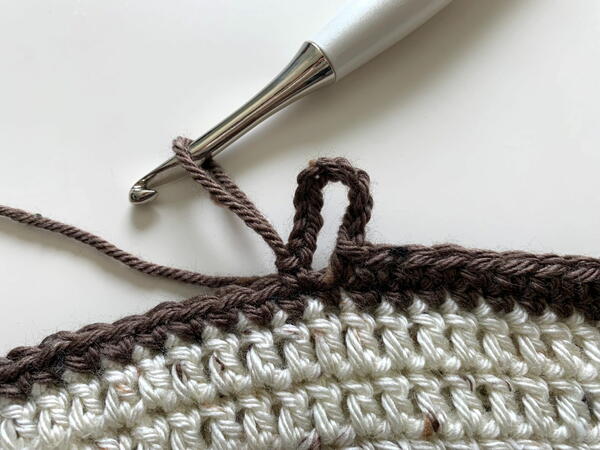
R17: Ch 1, sc 15, ch 10 to make the buttonhole loop. Then, sc in the next st. Continue sc in each of the remaining 44 sts in this round. *Join. (60 sc, 10 ch)
FO and weave in the ends.
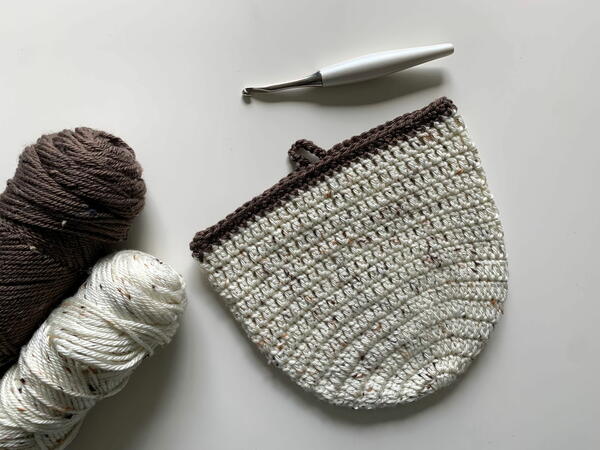
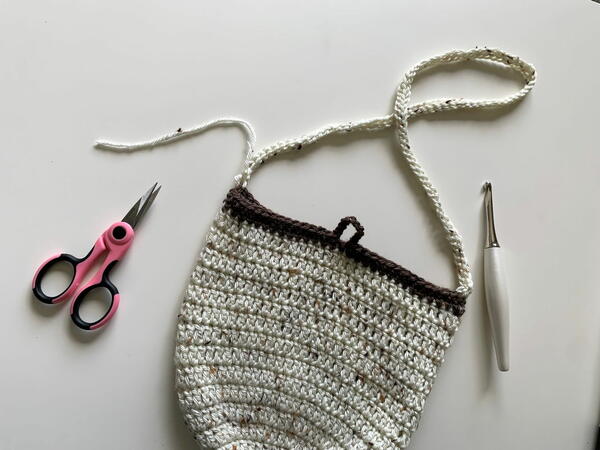
Part 3: Straps
Note: Video tutorial of this method is available here.
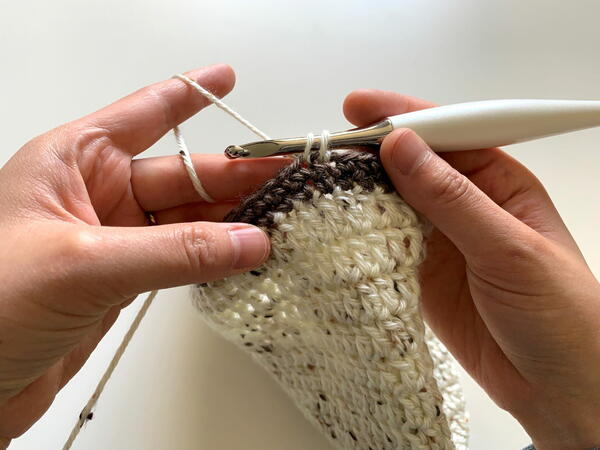
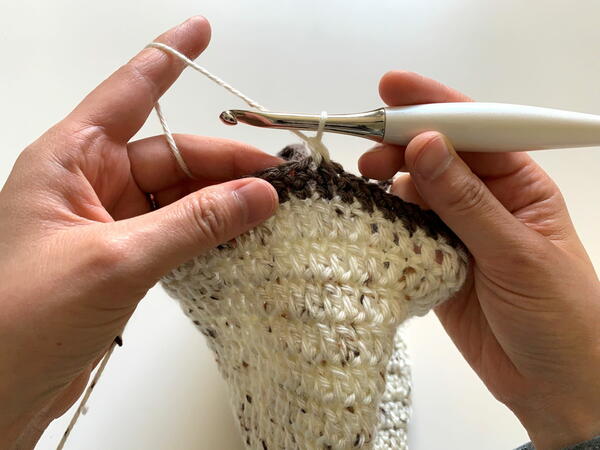
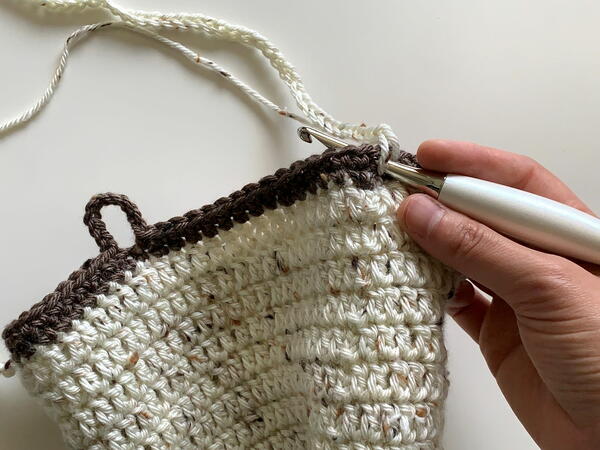
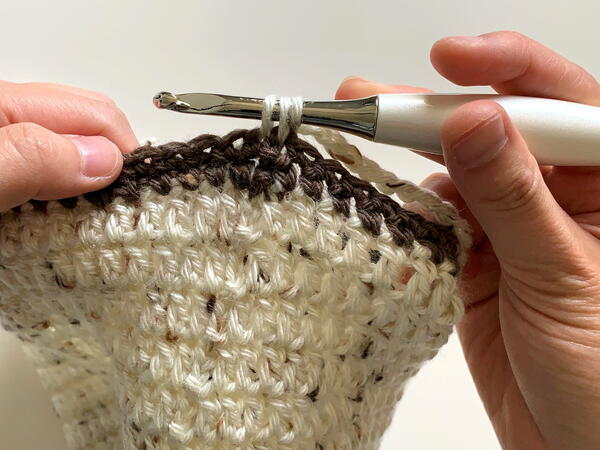
Use medium weight off-white yarn and the same (5mm) hook. You will be attaching the two straps to the sides of the bag, 15 sts away from both sides of the buttonloop strap. Each strap end will take up 2 stitch spaces.
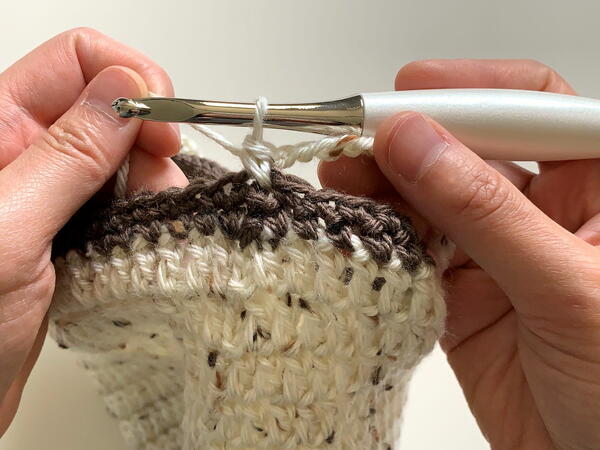
- Attach yarn to a st, then insert hook into next st and pull a loop up. YO and pull through both loops.
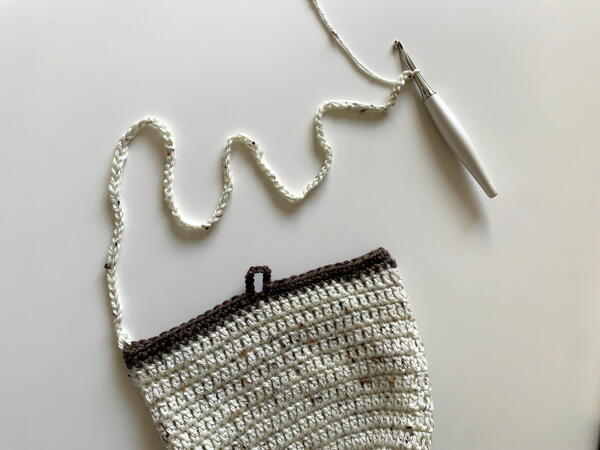
- Make a chain of 30 inches for a child or 40 inches for an adult, or go with your preferred strap length. If you are using stretchy yarn, pull it taut when measuring the length of the strap.
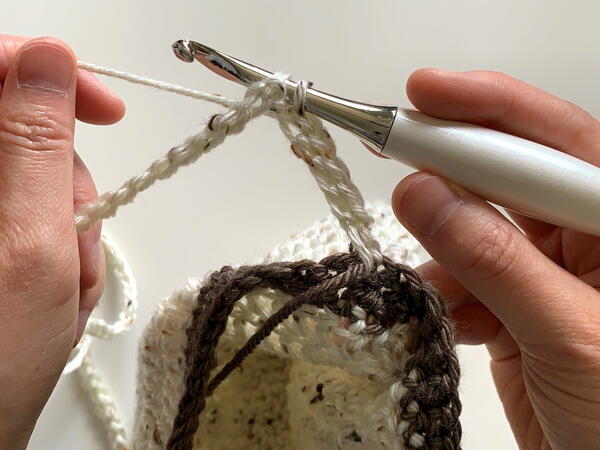
- Before attaching your strap to the other side, make sure the strap is not twisted.
- YO and insert hook into the other side of the purse, pulling up a loop. Insert hook into the next st and pull up a loop. Then, YO and pull through both loops.
- You will now work back along the chains. Sl st into the first ch. Then, sl st across in each of the ch.
- You will now be back to where you first started the straps. FO and tightly knot the yarn ends together, then weave them in.
Part 4: Finishing
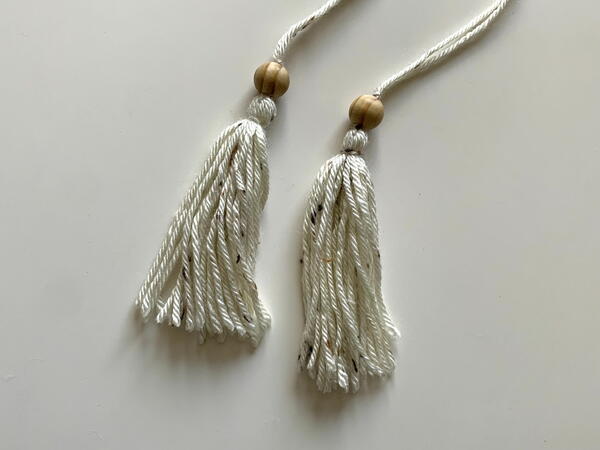
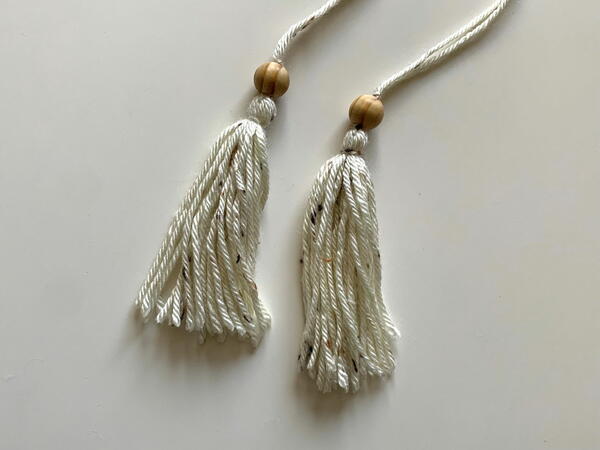
- Make two beaded tassels using my Easy DIY Tassel Tutorial.
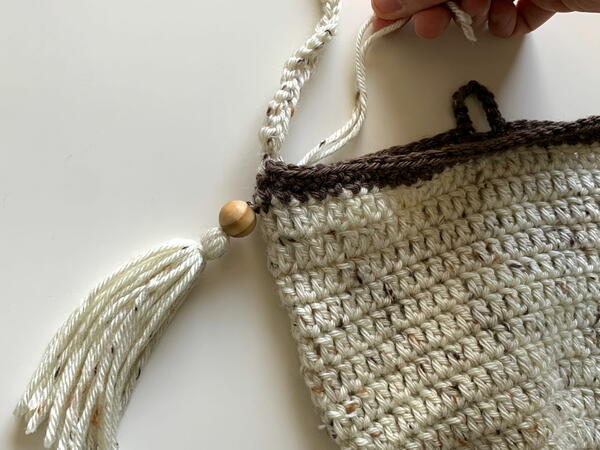
- Sew the two tassels to both sides of the bag, underneath where the straps are. I chose to attach them between R15-R16 of the bag, where the color change takes place.
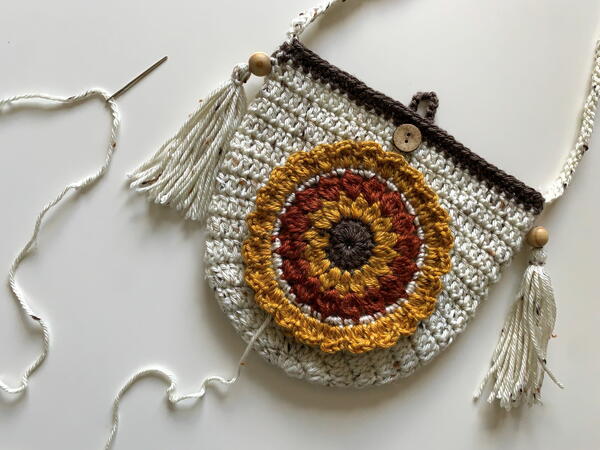
- Sew a wooden button to the front-center of the bag, between R15-R16 of the bag, where the color change takes place.
- Sew the floral applique to the body of the bag, centering it underneath the button.
- Optionally, you can include a cloth lining inside of your bag to make it more durable and avoid stretching out. To do so, put the right sides of two 12”x12” fabric squares together. Place the body of the bag over the squares and draw out the approximate size/shape of the bag. Cut out the two pieces of fabric lining. Then, sew the sides of the bottom of the pieces together. Fit the lining inside of the bag and fasten the top edge using either fabric glue, fabric tape, or sewing methods. Here is a tutorial on how to add a fabric lining inside of your crochet bag without the stitches showing.
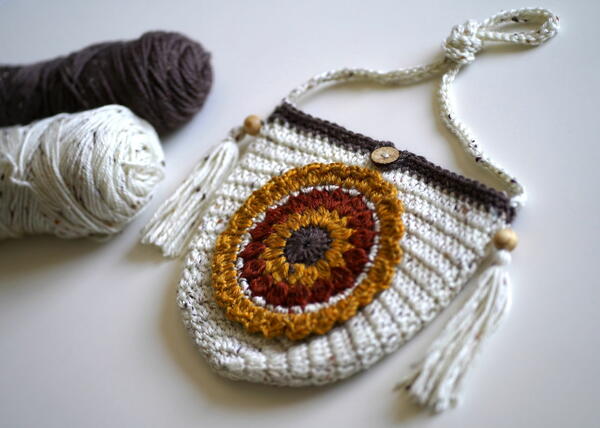
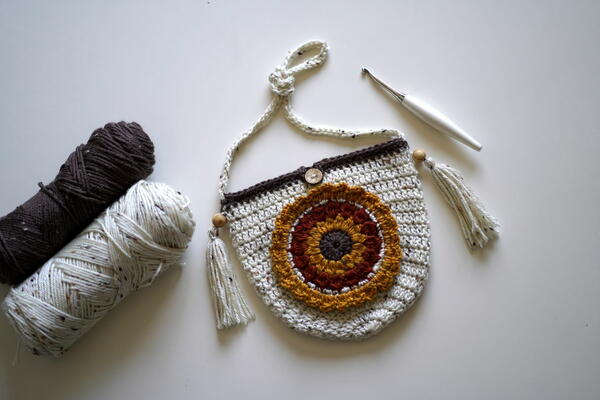
Finished Photos
Read Next2770+ Free Crochet Patterns

