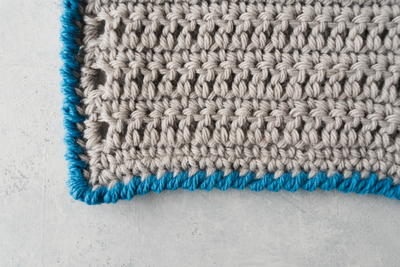
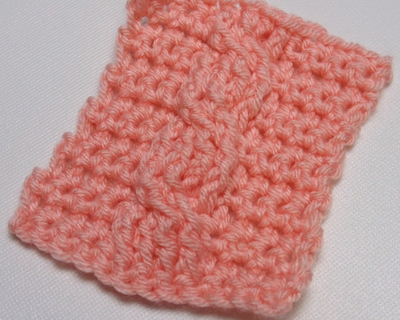
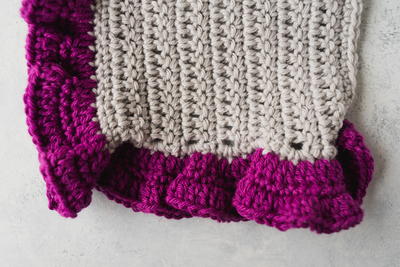
How to Crochet the Reverse Single Crochet Edging

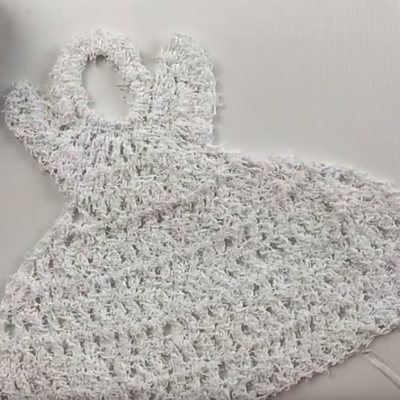
Ready to learn another super easy and subtle edging crochet pattern? This How to Crochet the Reverse Single Crochet Edging video tutorial breaks down how you can get a simple yet still distinct edging pattern. Plus, the reverse single crochet edging stitch is the perfect way to really secure any of your projects. That makes this edging stitch perfect for baby blankets, dishcloths, or any pattern that you are really going to get a lot of use and wear and tear from!

Materials List
- Crochet hook
- Yarn
How to Crochet the Reverse Single Crochet Edging
Reverse Single Crochet Edging Tutorial
-
Slip stitch into the corner of your project, starting on the right side instead of the left side because you are going to work in the opposite direction.
-
Chain one.
-
Insert your hook in the stitch to your right, yarn over pulling back through under the loop on your hook, and pull through.
-
Repeat this along the entire row, making sure to keep your stitches loose.
-
When you get to the corner, reverse single crochet 3 times in that one stitch.
-
When you finish, just slip stitch to the first stitch and weave in your ends.