How to Crochet Ruffle Edging
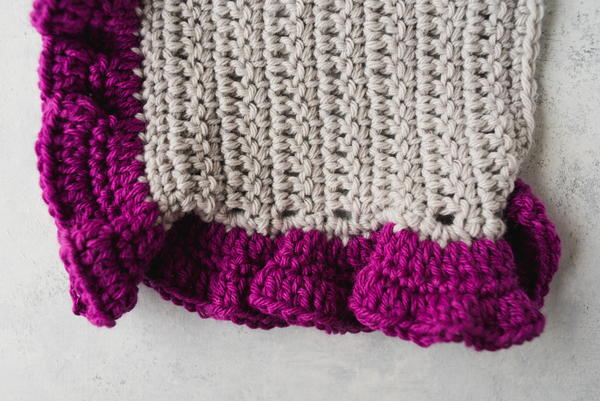
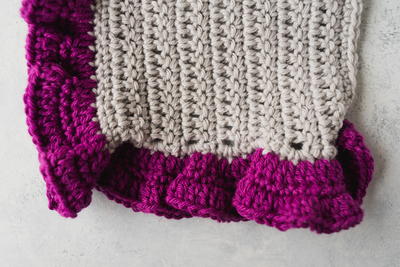
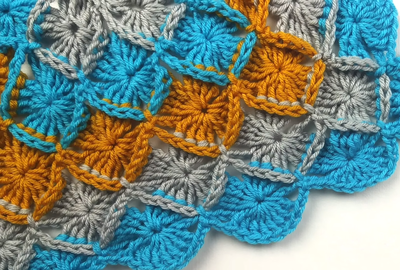
Ruffle edging is a great way to add a fancy touch to the end of your crochet project. This How to Crochet Ruffle Edging video tutorial perfectly shows you and breaks down how you can create this edging. Whether you want to add a fancy or frilly touch to the end of your crochet project, this ruffle edging pattern is the way to go. Make yourself feel like royalty by adding some stunning ruffles to your next shawl or scarf, and really have fun with the pattern and design!

Materials List
- Crochet hook
- Yarn
How to Crochet Ruffle Edging
Crochet Edging Tutorial
-
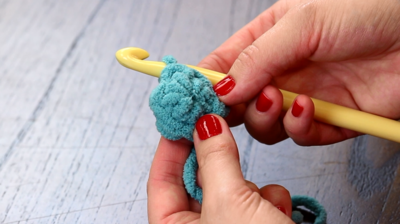
Take your project and begin in the corner. Insert your hook through the corner, and add your slip knot onto your crochet hook. Pull your crochet hook through that corner stitch.
-
Work 2 double crochets in each stitch until you reach the next corner.
-
If you decide to work around your entire piece: double crochet two times into your corner stitch, chain 3, and then 2 double crochet.
*When you finish and get to the end of your piece you would want to slip stitch into that first stitch to join it. -
For the second row, go back to the corner you started in, chain one, and single crochet in each stitch.
-
Continue to single crochet along the entire second row.
-
When you get to the next corner, single crochet 2 times in the chain space, chain 3, and work 2 single crochet in the chain space.
-
Repeat steps 5-6 until you reach the next corner.
-
For the third row, go back to the corner you started in, slip stich, chain 3, and work 2 double crochet in the same space.
-
Continue to work 2 double crochets in each stitch until you get to the corner.
-
When you get to the corner, work in the chain space, work 2 double crochet stitches, chain 3, and work 2 double crochet stitches.
-
Repeat steps 4-10 adding as much edging as you would like until you are happy with the finished product!
fromkathyyoung 233 3666
Oct 16, 2017
This is a great tutorial. Simple. Explained well. As brief as possible. We didn't have to look at somebody's cat or dog or hear about a vacation. Great job. I will be looking for more of your tutorials.
princess6860504
Aug 28, 2017
I always just wing it, make it up as I go along. SO for me, it is nice to have a definitive pattern for a ruffle! It is an indispensable skill to have when you crochet as much as I do. I am about ready to check out the other video tutorials on other edging techniques to refresh my memory! Thanks -)
Hippie Chick
Jul 17, 2017
So glad to find this ruffle edging. I was working on a project over the weekend that was supposed to have a ruffled edging but the instructions were not clear, the stitch count for the pattern did not match the number of stitches on the row of the project. It was a nightmare that I have not fixed yet. Will use this.
Report Inappropriate Comment
Are you sure you would like to report this comment? It will be flagged for our moderators to take action.
Thank you for taking the time to improve the content on our site.

