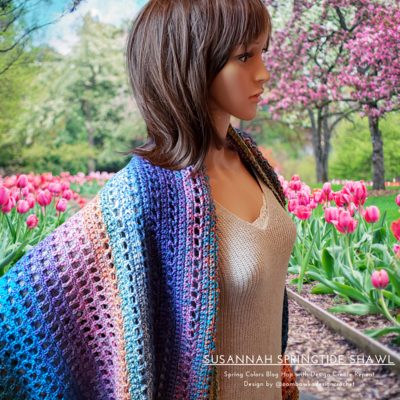
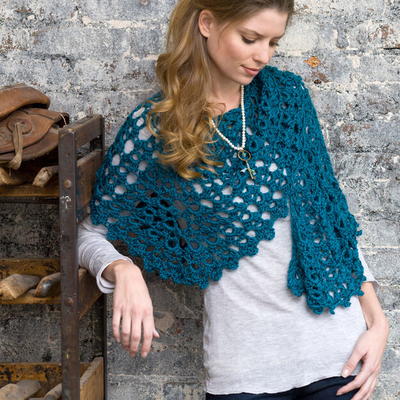
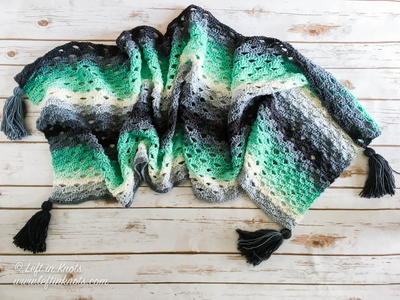
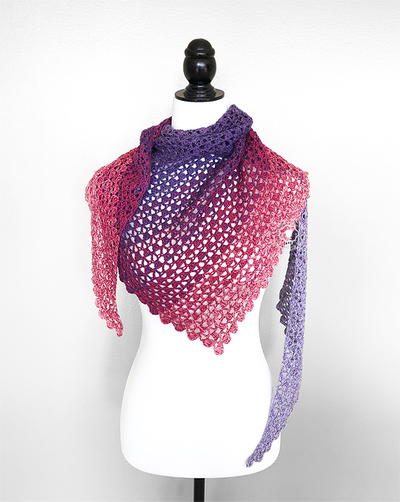
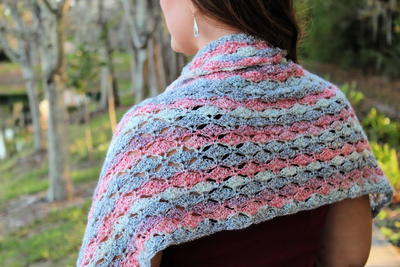
Captivating Lacy Shawl

The Captivating Lacy Shawl is a beautiful accessory you can wear as a shawl with or without a button to close it in the front. The color curls back around the neck, creating a delicate collar. It can also be worn around the waist perfect for the beach, a unique accessory, or to a Zumba class. Crocheted shawls like this are unique in that you can choose to add the fringe or leave it off; you'll love the shell and scalloped edge to complete the look.

Crochet HookG/6 or 4 mm hook
Yarn Weight(3) Light/DK (21-24 stitches to 4 inches)
Some helpful notes:
You create the triangle shape by decreasing on each row (1 v-stitch on each side), but instead of working a decreasing stitch, I just started each row 1 stitch closer in. I wrote this pattern to change colors each row and added fringe so those tails do not have to be sewn in (yay!).
Materials:
- Bernat Cotton-ish By Vickie Howell in Cotton Gin, Jade Jersey, Coffee Filter (1/2 skein each)
- G/6, 4mm
Color Pattern – Cotton Jin, Coffee, Jersey Jade, repeat
Read more at http://www.allfreecrochet.com/Scarves/Out-of-this-World-Lattice-Cowl/ct/1#tSPZkDjYQRBFRXfK.99
Read more at http://www.allfreecrochet.com/Scarves/Out-of-this-World-Lattice-Cowl/ct/1#tSPZkDjYQRBFRXfK.99
Read more at http://www.allfreecrochet.com/Scarves/Out-of-this-World-Lattice-Cowl/ct/1#tSPZkDjYQRBFRXfK.99
Abbreviations:
ch = chain
dc = double crochet
sp = space
sk = skip
sl st = slip stitch
v-stitch = dc, ch 1, dc in same sp
Instructions:
Row 1
Ch 173 (or any multiple of 4, plus 1)
In the 4th ch from the hook, work v-stitch
Sk 2 ch
Work a v-stitch in the next ch
Repeat from * all the way down, ending with a v-stitch
Fasten off and leave a long tail (about 6 inches)
(56 v-stitches worked)
Row 2
(new color) Sl st to the top of the dc
Ch 3
Sk the first v-stitch, and work 1 v-stitch in the ch 1 sp of the next v-stitch
Work 1 v-stitch in each ch 1 sp of the previous v-stitch until the last v-stitch
Ch 3 and attach with a sl st to the top of the beginning ch 4
Fasten off and leave a 6-inch tail
Rows 3-30
(new color) Sl st to the top of the first half of the v-stitch (the first dc)
Ch 3
Sk that first v-stitch (that you just worked the sl st into), and work 1 v-stitch in the ch 1 sp of the next v-stitch
Work 1 v-stitch in each ch 1 sp of the previous v-stitch until the last v-stitch
Ch 3 and attach with a sl st to the top of the very last dc
Fasten off and leave a 6-inch tail
For row 30, you'll only be working 1 v-stitch, so:
sl st
ch 3
v-stitch
ch 3
sl st
For the top edge and scallop
Attach a new color (I did Jersery Jade) back at the start of your shawlette, to the original chain.
Row 1
Attach with a sl st (leaving a 6 inch tail), ch 3
Sk the first V stitch (note: it's upside down), and work 3 dc's in between those 1st and 2nd v-stiches.
*3 dc in between the next 2 v-stitches
Repeat from * all the way down
Ch 3 and sl st in between the original dc and that last v-stitch
Row 2
(switch colors)
Attach with a sl st & ch 3 to the top of the previous ch 3
Work 1 dc in each space all the way down (so there will be 1 dc in between each dc of the granny stitches and 2 dc's in each granny stitch itself
Shell/Scalloped Edge
(switch colors)
Attach with a sl st
*Sk 2 dc
Work 6 dc in the next sp
Sk 2 dc
Sc in the next sp
Repeat from * all the way down. If you accidentally end up with a couple less or more spaces at the end, just finish it off with a sc in that very last space. The edge is very forgiving and it won't be noticed by anyone but you.
To Make the Fringe
Cut 3 strands of yarn (I did 1 of each of the 3 colors) 12 inches long
Fold in half
Tie to each of the dc spaces along the edge of the scarf by looping the ends through the loop created by folding it in half.


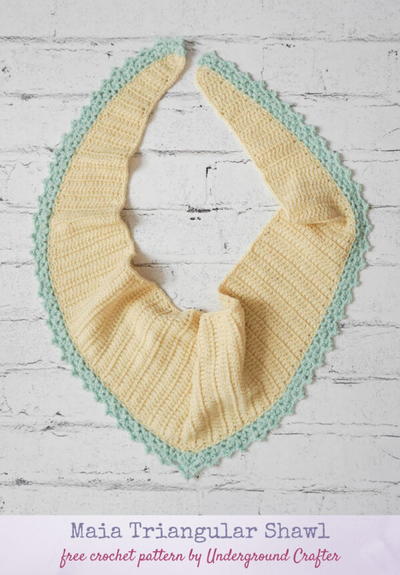
Read NextMaia Triangular Shawl
Your Recently Viewed Projects
Thanks for your comment. Don't forget to share!
fredwinchester 397 5389
Dec 18, 2013
easy peasy and sooo flirty! gotta have it quick christmas gift. thanks so much. my "steampunk" pal will love the colors. karenb/fredw
Report Inappropriate Comment
Are you sure you would like to report this comment? It will be flagged for our moderators to take action.
Thank you for taking the time to improve the content on our site.