Collar Fit For a Queen
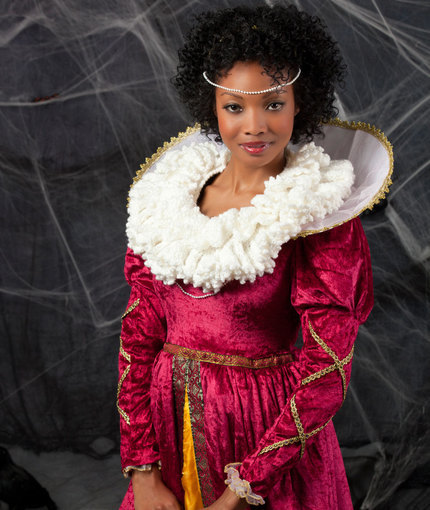
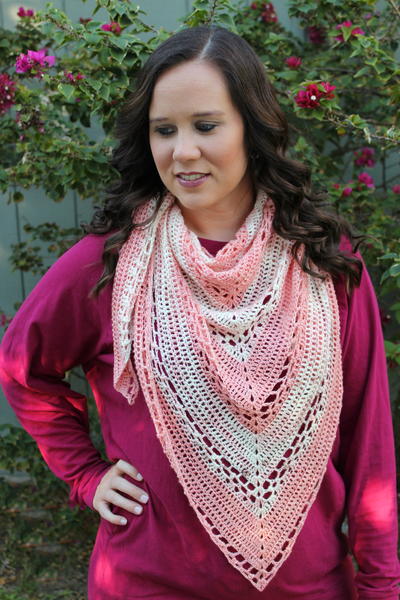
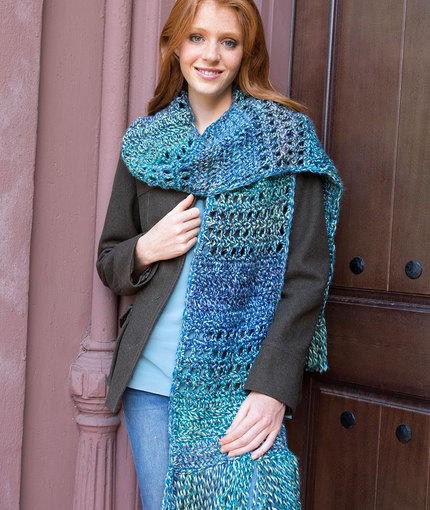
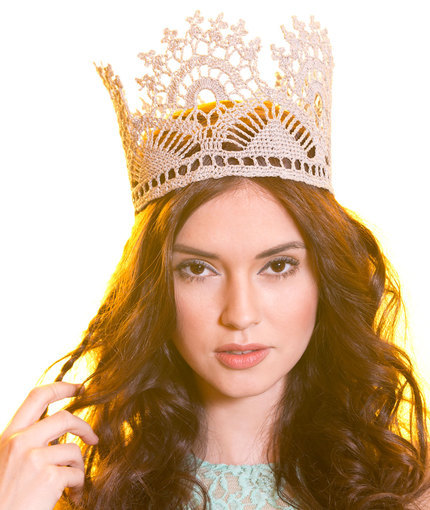
This Collar Fit For a Queen is going to be the most unique part of a homemade Halloween costume you've ever made. It's for an experience or advanced crocheter, but by the time you're done with it you will definitely appreciate the outcome. Just look at the way it shines so regally and looks glamorous at the same time. It's almost like she's not even wearing a crochet Halloween costume and was made to wear that all the time! You can look like this too if you try out such a unique crochet costume piece.

Crochet HookI/9 or 5.5 mm hook
Yarn Weight(4) Medium Weight/Worsted Weight and Aran (16-20 stitches to 4 inches)
Crochet Gauge8 sc = 4 (10 cm); 15 rows = 4 (10cm).
Finished SizeCollar measures 24 (61 cm) x 7 (18 cm).
Materials List
- RED HEART Super Saver: 2 skeins 0316 White
- Susan Bates Crochet Hook: 5.5mm [US I-9]
- One (1.3 cm) button
- Yarn needle
Notes
Ruffles are created by working multiple increases in each row on both layers of the collar. The ruffles on the Bottom Ruffle are further enhanced by joining the edge back on itself with hdc. The ruffling on the Top Ruffle is increased by joining the edge at certain intervals back to the foundation chain with hdc. Special Stitches fdc (Foundation double crochet) = (This technique creates a foundation chain and a row of double crochet stitches in one) Place a slip knot on hook, ch 3 (counts as first fdc), yarn over, insert hook in 3rd ch from hook and draw up a loop; yarn over and draw through one loop on hook (base-ch made), [yarn over and draw through 2 loops on hook] twice (dc made). Yarn over, insert hook into base-ch of the previous stitch and draw up a loop, yarn over and draw through one loop on hook (next base-ch made), [yarn over and draw through 2 loops on hook] twice (next dc made). Repeat for desired number of fdc. fsc (Foundation single crochet) = (This technique creates a foundation chain and a row of single crochet stitches in one) Place a slip knot on hook, ch 2, insert hook in 2nd ch from hook and draw up a loop; yarn over and draw through one loop on hook (base-ch made), yarn over and draw through 2 loops on hook (sc made). Insert hook into base-ch of the previous stitch and draw up a loop, yarn over and draw through one loop on hook (next base-ch made), yarn over and draw through 2 loops on hook (next sc made). Repeat for desired number of fsc. Picot = Ch 3, slip st in previous sc. rev sc (reverse single crochet) = Working from left to right, insert hook into next st, yo, pull up loop, yo, draw through both loops on hook.
Collar
Bottom Ruffle Row 1: 50 fdc, turn 50 sts. Rows 2-4: Ch 3 (counts as first dc throughout), [2 dc in next st, dc in next st] across, dc in last st; turn 164 sts. Rows 5-7: Ch 3, [2 dc in next st, dc in next st] across; turn 550 sts. Edging: Ch 1, [2 sc in next st, sc in next st, picot] 5 times; *2 sc in next st; turn, working into edge sts just worked, skip 3 picot, hdc in sc of next picot; turn, continue working into Row 7 sts, [sc in next st, picot, 2 sc in next st] 3 times, sc in next st, picot; turn, working into edge sts just worked, skip 5 picot, hdc in same sc as last picot; turn, continue working into Row 7 sts, [2 sc in next st, sc in next st, picot] 2 times; repeat from * across, slip st in first st to join 275 picot. Fasten off. Top Ruffle Row 1: 50 fdc; turn. Row 2: Ch 3 (counts as dc here and throughout), dc in first st, 2 dc in next st and in each st across; turn 100 dc. Rows 3-4: Ch 3, [3 dc in next st, dc in next st] across, 3 dc in last st 400 dc. Edging: Ch 7, slip st in 3rd ch from hook, (tr, dc) in first dc, skip 2 sts, [sc in next 2 sts, picot] 5 times, sc in next st; turn, working in base of foundation row, hdc in base of 3rd st of foundation row, turn; *[sc in next st, picot, sc in next st] 5 times, skip 2 sts, (dc, tr, picot, 2 tr, dc) in next st, skip 2 sts, [sc in next st, picot, sc in next st] 5 times; turn working in base of foundation row, skip 2 sts, hdc in next st, turn; repeat from * across. Fasten off.
Finishing
Neckband: Place Top Ruffle on top of Bottom Ruffle with foundation row sts aligned. Working through thicknesses, join new yarn with sl st in first st, ch 2 (counts as first hdc), hdc in next st and each st across foundation row; work 10 fsc, slip st in first fsc to secure button loop; working along ends of rows and through both thicknesses where ruffles overlap, sc evenly across side edge to neck; ch 1, turn, rev sc along neck edge. Fasten off. Weave in ends. Sew button opposite button loop.
Read NextHanging Crochet Skeleton
Morehouse17
Apr 30, 2018
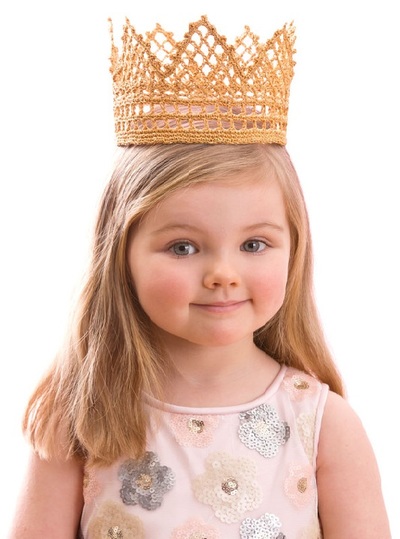
While surfing All Free Crochet, I ran across a crochet crown. Now if you really want to go all out, here is the link to that post. https://www.allfreecrochet.com/Halloween-Crochet/Your-Highness-Adult-Crown-Red-Heart
Delphine Bryant
Apr 29, 2018
Now this is taking a homemade Halloween costume to the next level. This is a piece of art work.
Report Inappropriate Comment
Are you sure you would like to report this comment? It will be flagged for our moderators to take action.
Thank you for taking the time to improve the content on our site.

