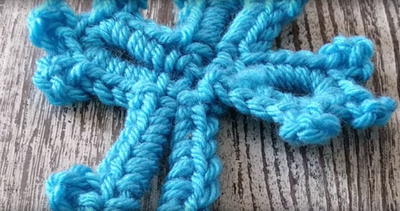
How To Crochet A Blossom

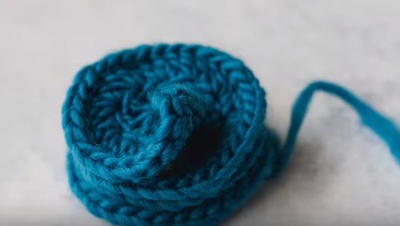
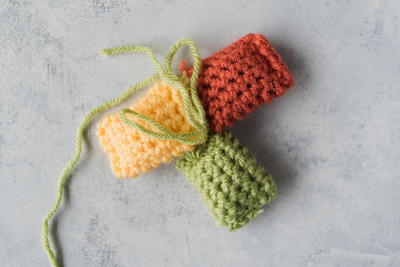
Learn how to assemble your own crochet blossom with this crochet tutorial by Heidi Gustad. Blossoms make great embellishments to any piece ranging from afghans to sweaters, you name it, and this big and beautiful blossom can be used all by itself as a broach. Additionally, since this pattern when laid out looks like four stacked crochet circles, the tail can be pulled through the center of the blossom, depending on how much you pull the string, you can change the shape of the blossom to be more round and prominent or more flat and demure. The design is totally up to you!

Crochet HookJ/10 or 6 mm hook
Yarn Weight(4) Medium Weight/Worsted Weight and Aran (16-20 stitches to 4 inches)
Materials List
- Us J
- Patrons classic wool worsted
How to Crochet a Blossom
-
Ch 16
-
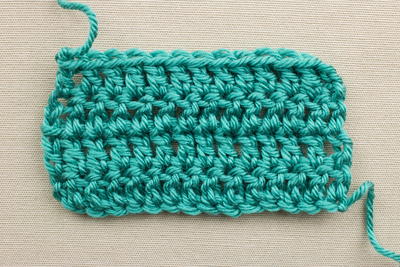
Row 1: In the 4th ch from the hook, work 2 dc. Work 3 dc in each ch across.
-
Row 2: Ch 3 and turn. Work 2 dc in the first st. Work 3 dc in each st across and 3 dc in t-ch. Fasten off.
-
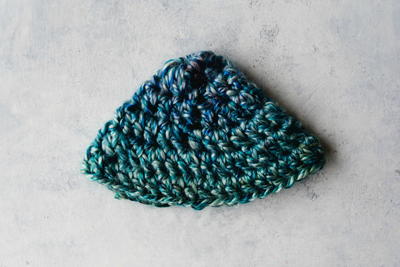
Blossom will begin to coil as you work. Following this natural coil, keep tails intact and use them to stitch flower together with a tapestry needle. Do not weave tails in yet and proceed to assembly instructions below.
Read NextEasiest Crochet Baby Beanie