This project was submitted by one of our readers, just like you.
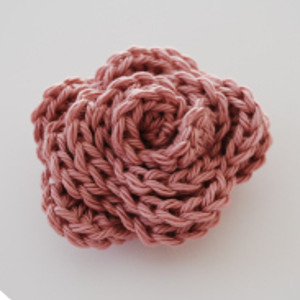
Rose Bud
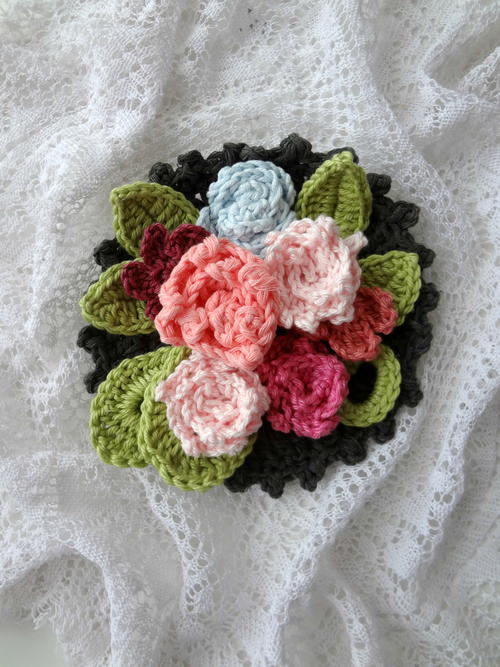
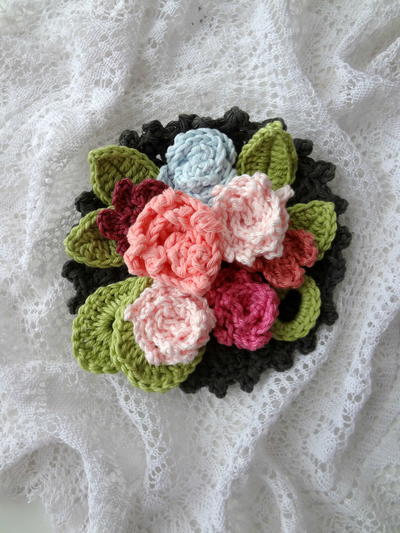
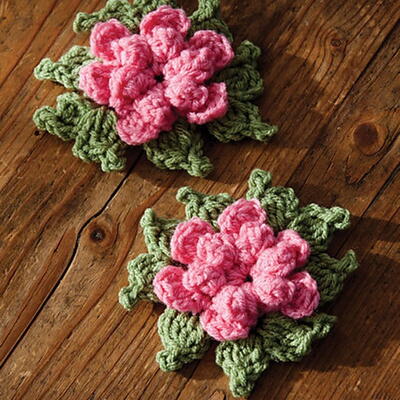
From the blogger: "This is a fairly easy and fast pattern that will guide you in making a simple, yet eye-catching rose bud. You can use whatever size/weight of yarn with their respective hooks. The difference would be in the size of the finished rose bud. At the end I have a picture of a bud made with DK yarn so you can see the difference between the two. Used terms (Am. terminology): chain (ch), stitch (st), slip stitch (sl st), half double crochet (hdc), 3-ch picot.
Tip: Leave both starting and ending tail long because you'll use them to sew the bud. "

Crochet Hook5 or 1.9 mm hook (steel)
Yarn Weight(2) Fine (23-26 stitches to 4 inches)
Instructions:
-
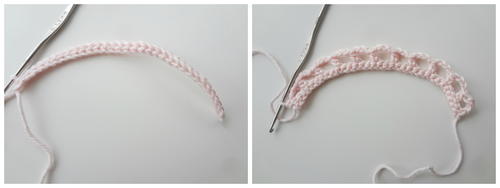
Foundation and row 1: ch34 and starting from 2nd st from hook, sl st1 across.
-
Row 2: ch3, sk2, hdc in next st. Repeat this pattern to the end of the row.
-
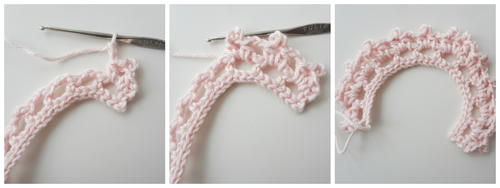
Row 3: ch2 and hdc1 in 1st ch, make a 3-ch picot and hdc1 in the same chain.
-
Repeat pattern to the end.
Assembly
Tip: To secure the ending extra, I tie and knot the tails together.
-
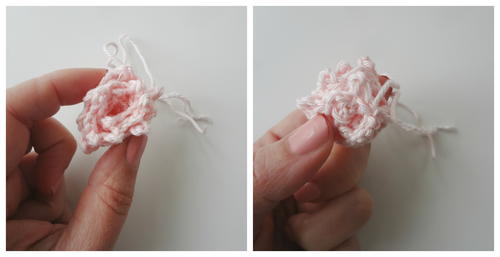
Roll the flower into a shape and pin in several places to hold it together.
-
Tread one of the tails through a tapestry needle and sew through the layers of the flower. Do so with the other tail. The flower will be nicely and tightly sewn.
Read NextFlower Garland

