This project was submitted by one of our readers, just like you.
Rose Brooch
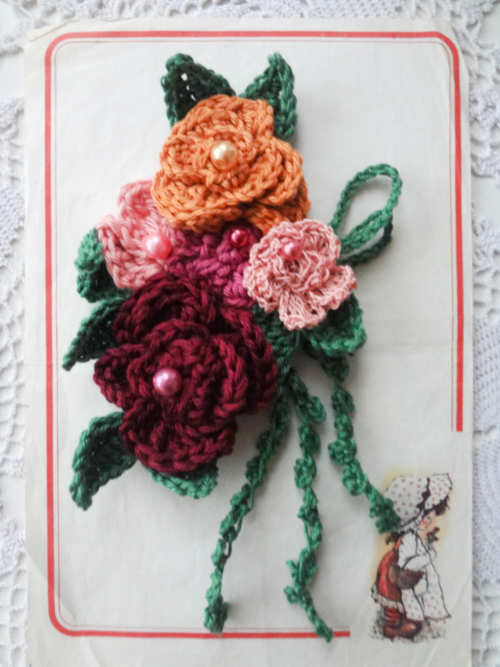
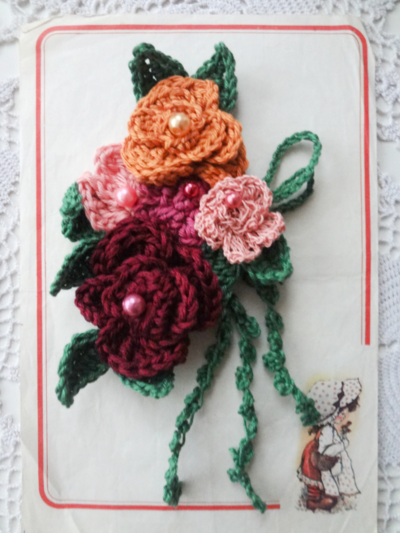
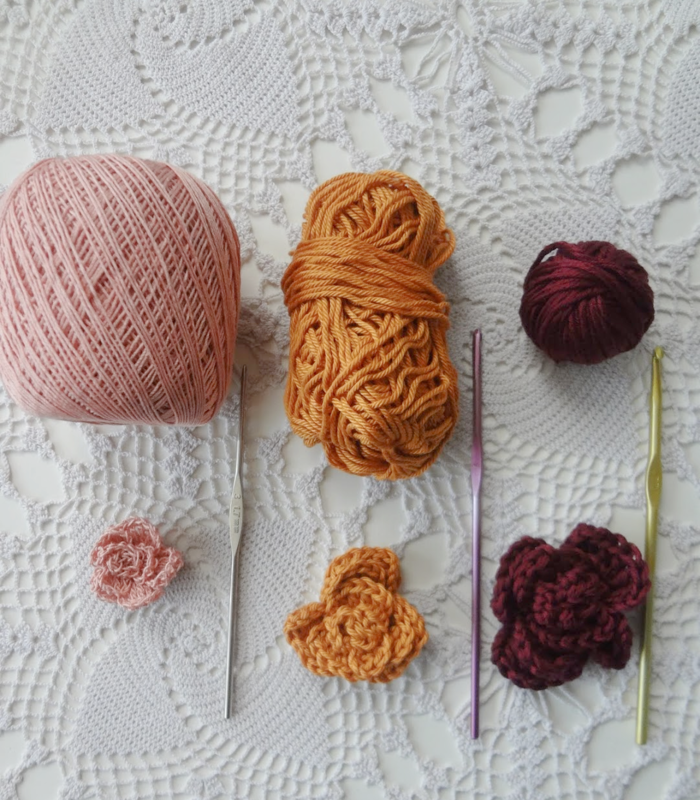
"If you are wondering what unique gift to crochet for Mother's Day - can I offer you this one? The rose brooch is very easy and fast to make. Once you make your first rose, you'll fall in love with the pattern. For this tutorial, I made the brooch with the same rose pattern, but used different sizes of hooks and yarn to get different sizes of roses. The smallest rose is made with a #10 crochet thread and 1.7mm hook. The middle employs sport yarn and a 3 mm hook, while the biggest is made with DK yarn and a 4.00mm hook. For the leaves, vines and accents I used sport yarn (3.00mm hook). Stitches in American terminology: chain (ch), slip stitch (sl st), skip (sk), single crochet (sc), half double crochet (hdc), double crochet (dc), treble crochet (tr) Other materials: sewing needle and thread, tapestry needle, brooch pin and pearl beads (optional). Size of brooch: 11cm (across at the widest point) and 13 cm (at the longest point)"

Crochet HookD/3 or 3.25 mm hook
Yarn Weight(3) Light/DK (21-24 stitches to 4 inches)
Finished SizeSize of brooch: 11cm (across at the widest point) and 13 cm (at the longest point)
Instructions
-
Rose pattern:
Foundation and row 1: ch30 and hdc2 in 3rd st from hook. Sk1 and hdc3 in next st. Sk1 and dc2in next st, ch3 and sl st in that same st., sk1, sl st in next st and in that stitch ch3, dc2,ch3 and sl st (all in that same stitch). Sk1, sl st in next st. Ch3 and dc2 in the same stitch, next dc2 in the other st, ch3 and sl st in that second stitch. So here, we increased the petal pattern, spreading it over two stitches. Sk1 and repeat this pattern again.
Next, sk1 and sl st in next st. Ch4 and tr2 in this st, tr2, ch4 and sl st in the next. Sk1 and sl st in next st. Ch4 and tr3 in this st, tr3, ch4 and sl st in the next. From here to the end, repeat this pattern (3x). Leave a long tail which you'll use to sew the rose into shape.
Make them in different sizes for versatility.
Shaping the rose:
Take the smallest part of the rose (the center), and roll the other petals around it. The look of it can change drastically if you do it tightly or more loosely, so experiment a couple of times to get the desired look. Once you get that look, pin the rose in several places so that it doesn't unroll. Thread the tail into a tapestry needle and sew the rose, minding that you sew through all the petals on all sides. -
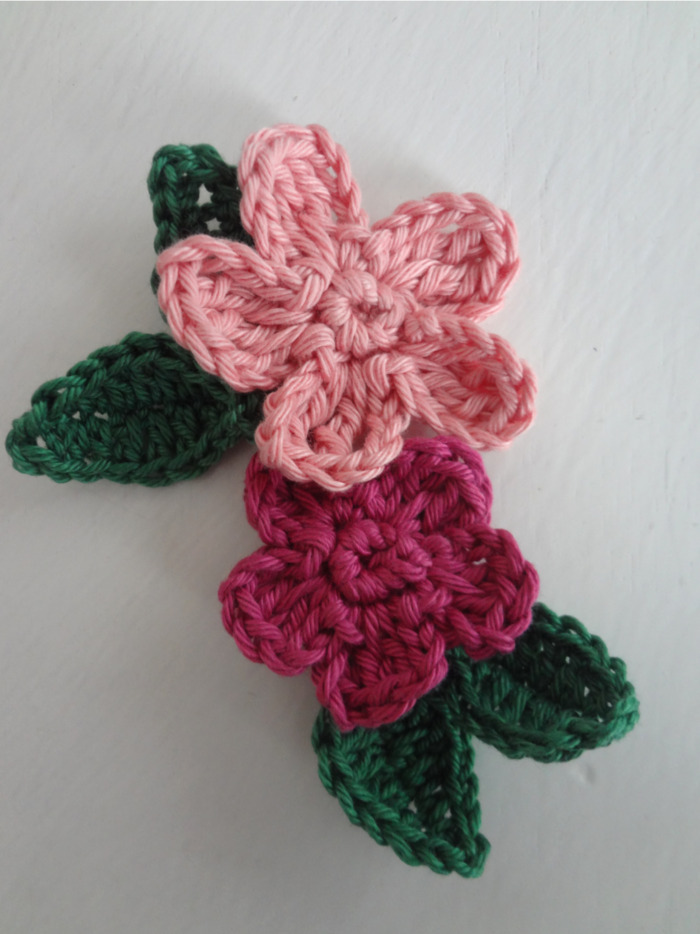
Forget-me-nots pattern:
Foundation and round 1: Ch5 and join with 1st chain to make a ring. sc5 in ring.
Round 2: *chain 4 and (in the 1st st) tr2, ch3 and make a sl st* (in that same stitch).Sl st into the next stitch and repeat the pattern from * to *. Make 5 such petals. -
Crochet leaves pattern:
Ch10, sl st in 1st st, sc1 in next, hdc1 in next, dc1 in next 3 sts, hdc1 in next, sc1 in next and sl st in the last st. Ch1 (we are going to work the other side of the leaf in reverse), and sl st in 1st st, next sc1, hdc1, dc1 in next 3 sts., hdc1, sc1 and sl st at the top. One leaf made. Now ch12 for the other leaf. We added 2 stitches more which are to be left as are, and their purpose is to make folding the leaves easily one, slightly over the other. Repeat the leaf pattern for the second leaf. -
Crochet vines pattern:
For the vines, ch5 and sl st into 1st st (one small petal made), ch5 and sl st into 1st st of that 5-chain (second petal made). Repeat this pattern until you get desired length. (I made one 20 cm long and the smaller is 10 cm long). -
Accents:
For the accents, ch25 and tie both ends. Make as many as you'd like to have in your brooch.
Assembly
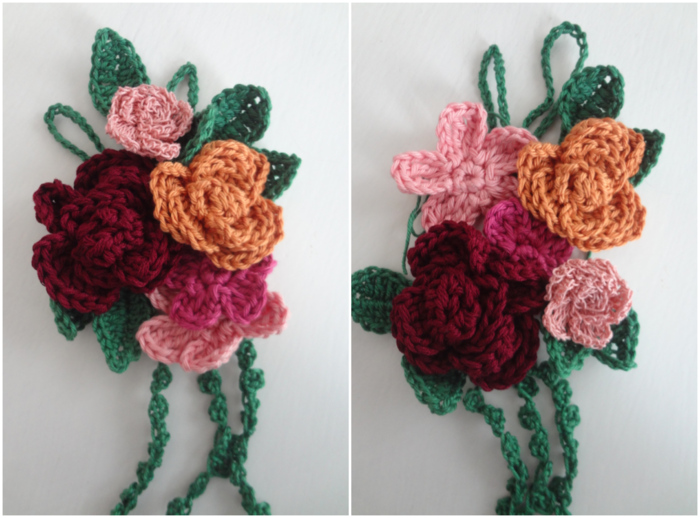
Make as many of the crochet parts as you like. Play and experiments with arrangements of the flowers, leaves and accents you've made. When you are satisfied with the look of your brooch, sew small parts together first, adding other parts as you go. For example, I always sew the leaves onto (or under the flowers first) then I add another flower (with leaf / accent) to the first, and slowly add up and join pieces one by one. When done, attach / sew a brooch pin at the back. You might want to add a felt / textile piece at the back to cover it before applying the pin.
Read NextModern Crochet Granny Bag


