How to Separate Thumb Stitches for Crochet Mittens
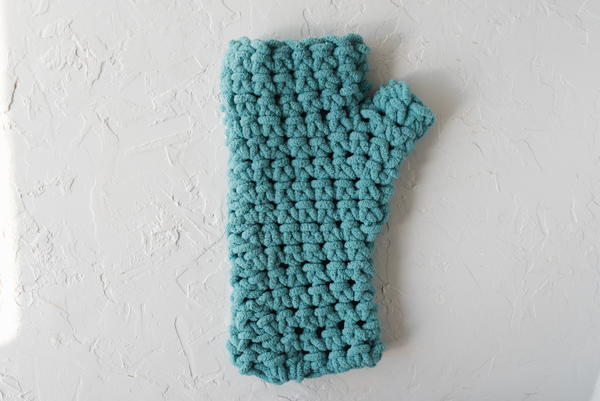
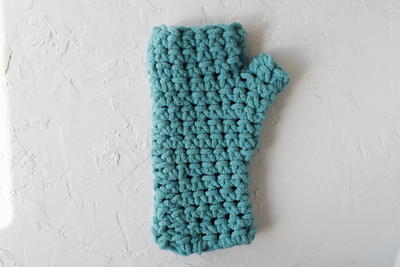
Crochet mittens seem like an easy enough pattern to tackle - after all, it's just a tube that's closed off on one end and that's it! But wait, what about the thumb hole? How do you separate your stitches as you're working on a mitten so that you can add that thumb portion of your mitten? Or, if you're working on fingerless mittens, how to you make sure that you have a space for your thumb?
This video will show you how to add that thumb opening as you work the body of your crochet mitten - it seems like it'll be a complicated process, but honestly, it all comes down to skipping a few chains. Promise! Check out the video and see what we mean.

Crochet HookP/16 or 11.5 mm hook
Yarn Weight(5) Bulky/Chunky (12-15 stitches for 4 inches)
Materials List
- Yarn | Featured in this Video: Bernat Blanket Yarn
- Crochet hook
Crochet Fingerless Mittens Pattern
How to Separate Thumb Stitches for Crochet Mittens
When working from the wrist to the fingertips, the thumb opening comes into play after you work the gusset, where extra stitches are added to accommodate the part of your thumb that sticks out from the rest of your hand.
The basic concept is that you'll be working a wide tube up until a certain point, as described by your pattern, where you can then skip a few stitches and immediately begin crocheting rounds that are smaller than what you were making.
Confusing? Watch the video above for a visual demonstration - once you watch Heidi do it, you'll know exactly what we're talking about, and thumb openings will never be challenging again!
Read NextQuick Crochet Butterfly Pattern
Your Recently Viewed Projects
margiekins22
May 31, 2017
I love this pattern! I would love to pair this with a cozy scarf pattern and give it as a gift!
Report Inappropriate Comment
Are you sure you would like to report this comment? It will be flagged for our moderators to take action.
Thank you for taking the time to improve the content on our site.

