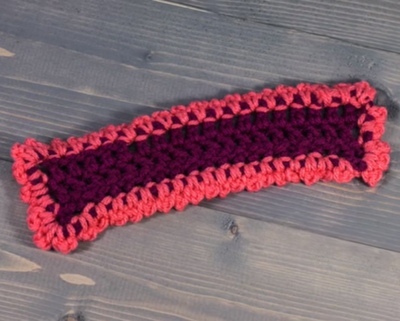
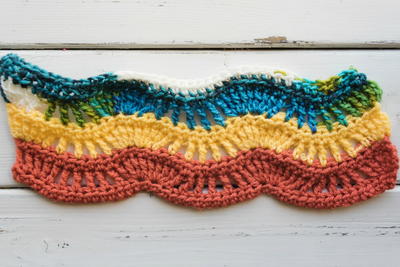
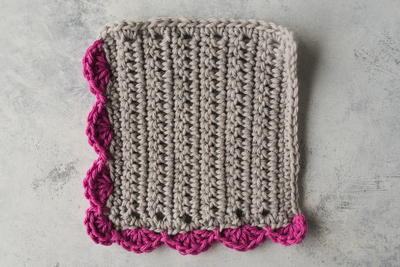
Picot Stitch Crochet Tutorial

Learn how to crochet the picot stitch as a border around your finished crochet projects. In this video, Chris will walk you through the steps to add a delicate scalloped crochet border. All you need to know how to do for this stitch is a crochet chain and a crochet slip stitch - it's that easy! Add this as a border around a finished crochet blanket or scarf, or as a bottom edging for a sweater or hat. You can really add this to any finished project of yours.
Please note that your pattern will determine the size of your picot - depending on how large of a picot you want, you'll chain a large or small amount. You can also vary the number of slip stitches between each picot. Again, your pattern should specify exactly - this written pattern is just based on the above video.

Picot Stitch Directions
-
Slip st into anywhere along the edge to start - a corner is a good starting point
-
Ch according to your pattern - how many you chain determines how big of a picot you get. In this case, we ch 3 in this case for a pronounced scallop.
-
Sl st into the same stitch
-
Sl into next stitch to begin working your second picot
Read NextQuick Crochet Butterfly Pattern