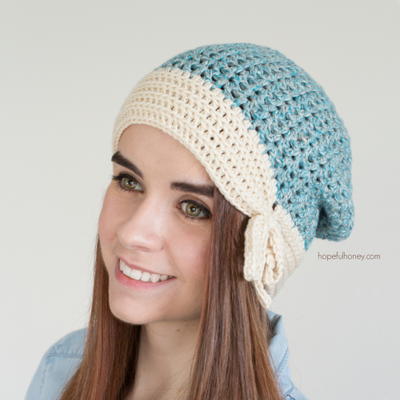
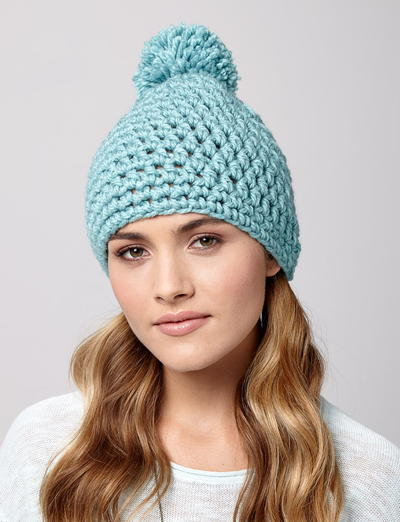
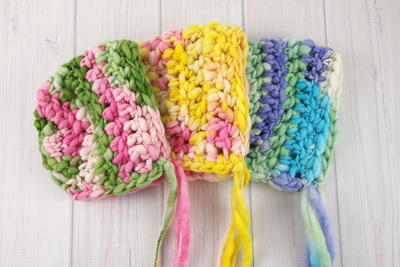
Thick and Thin Bonnet

A little one will soon arrive in your family or circle of friends! If you crochet, there's no better way to celebrate the occasion than by using your crochet hook to crochet a baby bonnet. The Thick and Thin Bonnet is a delightfully sweet design that includes super bulky yarn, resulting in a bonnet that's incredibly soft and colorful. Consider using yarn in pink, blue, green, or yellow to create a crochet baby bonnet that will be proudly passed down for generations. This crochet pattern is also easy to make, so you could create this beautiful baby bonnet within an afternoon if you're pressed for time.
Notes-Hat can be started with a Magic Ring or with the instructions given in Round 1
-Starting chain does NOT count as a stitch on the increase rounds
-Each round is started in the same stitch as your starting chain
-The end of each round is joined by slip stitching in the first stitch of the round, not the starting chain
-The blogger uses an alternate DC turning chain (alt-ch) at the beginning of each row

Crochet HookN/15 or 10 mm hook
Yarn Weight(6) Super Bulky/Super Chunky (4-11 stitches for 4 inches)
Crochet Gauge7.5 stitches and 5 rows = 4" (10 cm) PLEASE CHECK YOUR GAUGE
Materials List
- Thick N Thin Yarn (27 yards / 35 grams) - Super bulky #6 yarn can be substituted
- N/15 or 10 mm hook or size needed to obtain the gauge
- Yarn needle for weaving in ends
- Ribbon (optional)
Newborn Size
Head Circumference = 12" - 13" · Finished Depth (front to back) = 5.25" · Finished Height (top to bottom) = 5.5"
-
Round 1: Ch 3, make 10 dc in the 3rd chain from hook, join in first dc (10)
Round 2: Ch 2, make 2 dc in each stitch around, join in first dc (20) -
Bonnet is now worked back in forth in rows.
Row 3: Make an alt-ch in first stitch, dc in same stitch (increase made), dc in next 16 stitches, make 2 dc in next stitch, turn (20) - The last two stitches will not be worked.
Row 4: Make an alt-ch in first stitch, dc in next stitch and each stitch across, turn (20) -
Row 5 & 6: Repeat Row 4
Row 7: Ch 1, sc in each stitch across, do not turn (20) -
Row 8: Evenly sc around the base of the bonnet, when you reach the opposite corner, fasten off and make an invisible join. Weave in all ends.
-
Optional: Weave ribbon or yarn through the last row of DC stitches or attach ties to each corner.
Your Recently Viewed Projects
Thanks for your comment. Don't forget to share!
Hippie Chick
Mar 22, 2017
Oh my goodness! These hats are about the cutest hats I have seen in quite a while. I love the pastel colors and found them just in time to make a few of these before Easter. They will be perfect Easter bonnets. They look so easy to make and look like they would work up quickly. These are definitely going on the top of my to do list. I have already printed the pattern out to a pdf. Thanks.
JaneEK
Mar 15, 2017
You will truly be amazed how quickly this basic bonnet works up. I have a huge stash of Bernat Blanket yarn that would be perfect for this project. Ive already made it in bulky yarn, so it will be interesting to compare the two. If you want to make the bonnet more feminine, you can add a row of shells after Row 8.
Report Inappropriate Comment
Are you sure you would like to report this comment? It will be flagged for our moderators to take action.
Thank you for taking the time to improve the content on our site.