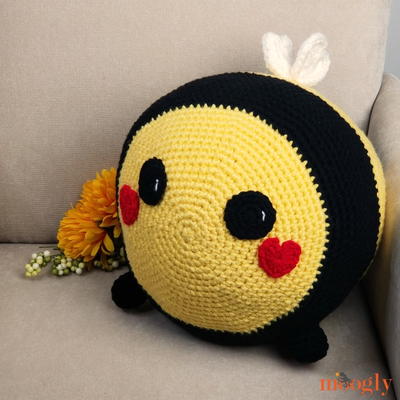
Spring Ladybug
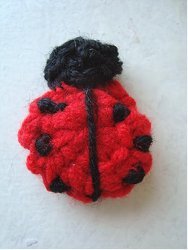
Using an adorable free crochet pattern you can make a Spring Ladybug. This can be a cute decoration during the spring months or you can use it as a gift topper. Need a spring embellishment? This ladybug is just the project!

Crochet HookH/8 or 5 mm hook
Yarn Weight(4) Medium Weight/Worsted Weight and Aran (16-20 stitches to 4 inches)
Copyright, M. E. Harrington, 2012
You may sell your finished ladybugs.
Permission is not granted to copy or distribute this pattern in any manner.
Materials:
- Worsted weight yarn, red and black
- Size 5mm crochet hook
- Yarn needle
Instructions:
Make the body:
With red yarn, chain 5, slip stitch to join and form a ring.
Chain 1. In the ring, make 10 single crochet, slip stitch to join. (Carry the yarn end along the outside of the ring, so you can close
up the hole at the end.)
Single crochet in each stitch around.
Repeat step 3 for one more row, and fasten off.
Pull the yarn end from the beginning into the inside of the bobble. Pull tightly to close up the hole in the center.
Tie the 2 yarn ends into a square knot. Thread one of the yarn ends into a yarn needle, and weave around the opening. Tuck the other yarn end into the bobble. Pull tightly to close up the bobble, and fasten off.
Make the head:
Chain 5, slip stitch to join and form a ring.
Chain 1, make 8 single crochet in the ring. Slip stitch to join.
Make one more row of single crochet in each stitch around, fasten off with a long yarn end of approximately 18 inches.
Thread the long yarn end into a yarn needle.
Sew the head onto the body.
Bring the black yarn end to the front of the ladybug, coming out in the center position of the neck.
Place the yarn down the center of the body, and take a stitch to secure at the bottom of the ladybug. Then take another stitch on the opposite side of the yarn, just to make sure it doesn’t move about.
Make the spots:
Pass the yarn through the body, and come out on the side, at the bottom end of the ladybug. (Refer to the photo for placement of the spots.) Take 3 stitches, then move the needle through the body, and come out in the center side of the body. Take another 3 stitches. Repeat to make the 3rd spot, half way between the center and the head.
Pass the needle through the body and come out on the other side of the ladybug, and make 3 spots down that side as well. Pass the needle through the body to the opposite side, and cut off the yarn.
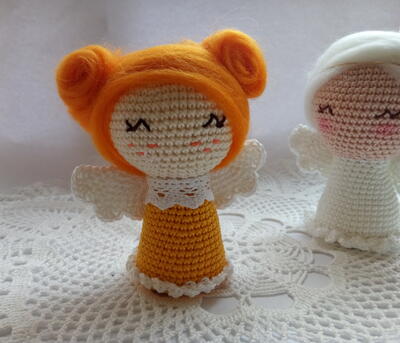
See this adorable pattern and more in our 8 Adorable Crochet Amigurumi eBook.
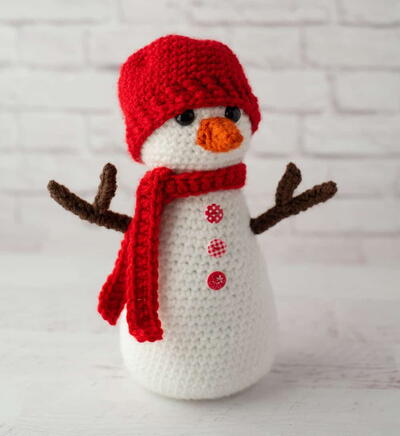
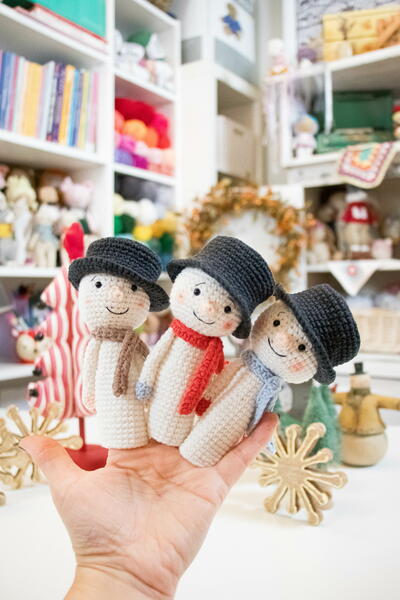
Read NextSnowman Finger Puppets
Your Recently Viewed Projects
Thanks for your comment. Don't forget to share!
mulberrygalprinces s
Jul 03, 2016
Oh this is just what I needed. I have made a couple baby diaper sets in a lady bug pattern. This would go just great on them, or just as a huggy for the baby. Either way it is adorable and I know the parents and babies alike will really love it. Thanks for sharing the pattern.
AlgonacAfghans
Mar 14, 2012
I'll leave a couple strings out the back, to tie it onto a baby hat! I've been looking for little things that are 'uni-sex' to put on them for the hospital new-borns.
Report Inappropriate Comment
Are you sure you would like to report this comment? It will be flagged for our moderators to take action.
Thank you for taking the time to improve the content on our site.


![61 Mini Crochet Animals [Free Patterns]](http://irepo.primecp.com/2021/02/484381/Mini-Crochet-Animals-square_Large400_ID-4198042.png?v=4198042)


