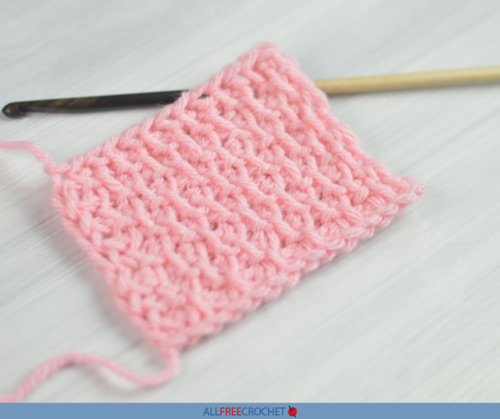
Tunisian Honeycomb Stitch Tutorial
Learn the Tunisian crochet honeycomb stitch with this simple tutorial!
The Tunisian Honeycomb stitch creates a very pretty and unique texture by alternating the Tunisian simple stitch and the Tunisian Purl stitch.
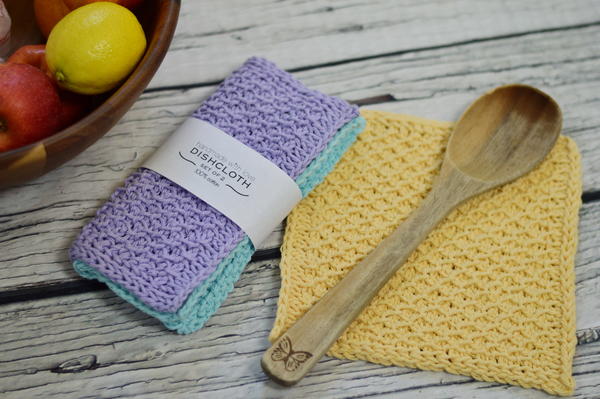
The fabric created can be thick, beautiful, and perfect for a dishcloth, blanket, or even a cowl. After you have learned and practiced the Tunisian Honeycomb Stitch, this dishcloth is a perfect beginner pattern to try, and it's free!
Tunisian crochet, also known as afghan crochet, has rapidly become a very popular form of crochet in recent years but it has been around for more than a century.
The texture created with Tunisian crochet can mimic knitting or woven fabrics and the technique is fun, easy, and can be very relaxing. This form of crochet is made by combining knitting and crochet while using a straight and sometimes long, crochet hook.
This technique is worked by making a forward pass from right to left and then a return pass from left to right. During the forward pass, loops are picked up onto the hook and during the return pass, these loops are worked off of the hook.
The stitches can create a very thick, dense fabric or by using different stitches, hook sizes and yarn weights, the fabric can be lacey, airy, and very light.
Resources
Materials
Hook: 12-inch Size I-5.5 mm Furls Tunisian Crochet Hook or regular hook with no handle
Yarn: 1 ball of Mary Maxim Starlette yarn or yarn of choice
How To Crochet The Tunisian Honeycomb Stitch (Photo Tutorial)
To make the Tunisian Honeycomb Stitch, start with a chain that is a multiple of 2.
- Chain an even number of chains.
For this example, I have chained 14 chains.
- Starting with the 2nd chain from the hook, pick up a loop in each chain across. =14 loops on the hook.
- Make a normal return pass by yarning over the hook,
- pull through the first loop on the hook,
- yarn over,
- and pull through the next 2 loops on the hook.
- Repeat steps 5 and 6 until 1 loop remains on the hook.
The stitch on your hook counts as the first stitch of the row and is counted as a Tunisian knit stitch.
- Make a Tunisian Simple Stitch or tss, in the next stitch, by inserting the hook behind the front vertical bar of the next stitch,
- yarn over,
- and pull through the first loop on the hook to pull up a loop.
- Make a Tunisian Purl Stitch or tps, in the next stitch, by bringing the working yarn to the front of the hook,
- insert the hook behind the front vertical bar of the next stitch,
- hold the working yarn down with your thumb,
- while continuing to hold the yarn with your thumb, pull through the stitch to pull up a loop.
- Continue alternating Tunisian Simple stitch or tss and Tunisian Purl stitch or tps by repeating steps 8-14 across, until you have 1 stitch remaining.
- To work into the last stitch, tilt the work a little and look for the 2 vertical bars at the end of the row,
- and insert the hook under these last 2 vertical bars at the end of the row.
- yarn over
- and pull through the stitch to pull up a loop.
- Follow steps 3-7 to make a return pass.
- Follow steps 11-14 to make a Tunisian Purl stitch or tps in the next stitch.
- Follow steps 8-10 to make a Tunisian Simple Stitch or tss in the next stitch.
- Continue alternating the Tunisian Purl stitch or tps and the Tunisian Simple stitch or tss by repeating steps 21 and 22 until you have 1 stitch remaining.
- Follow steps 16-19 to work into the last stitch.
- Follow steps 3-7 to make a return pass.
- Repeat steps 8-25 until the desired length.
The End!


