Tunisian Crochet Stitch Tutorial
Tunisian crochet stitches are thick and uniform, which makes this a desirable crochet stitch to learn.

The Tunisian crochet stitch is known by several names: The Afghan stitch, Railroad Knitting, Hook, knitting, tricot crochet, shepherd’s knitting. Follow this step by step tutorial to learn the famous Tunisian crochet stitch.
Unless you have a traditional Tunisian crochet hook, which is a very long handled crochet hook, then Tunisian crochet is really only practical for making smaller one-piece items, such as wallets, headbands, belts, and other small items which don’t require more than a dozen stitches across the row. That’s because all the stitches stay on the hook, and any more than that, they will fall off the back end of the hook!
This tutorial is for a Tunisian simple stitch that can be completed with a regular hook or Tunisian crochet hook (depending on what you're making). Tunisian crochet is one of the most distinctive and traditional looks and lots of people like it for more than just afghans.

Materials List
- Yarn of choice
- Tunisian hook or hook of choice
Tunisian Crochet Stitches Instructions:
Click on any image to enlarge.
-
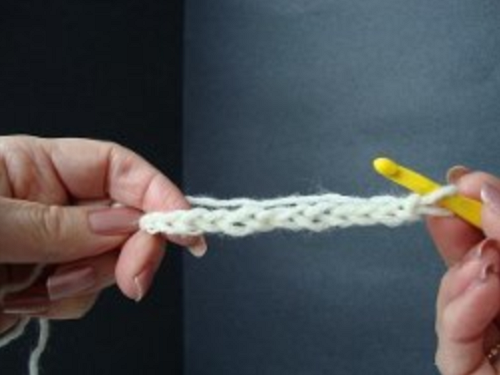
To begin Tunisian crochet, chain as many stitches as your project requires.
-
Work back down the chain, as though making the first half of a single crochet, but keeping that loop on the hook as you progress down the row. At the end of the row, you will have as many loops on your hook as your chain (minus 1 to accommodate the turn).
So if you had a chain of 13 stitches, you will have 12 loops on the hook (as shown in the second image below). -
Do not turn the work,* yarn over, and pull through 2 loops. Repeat from * all across the row, until you have only one loop remaining on the hook.
-
Proceed back down the row again, picking up a loop at each stitch. Pass the hook through the stitch that looks like a knitting stitch, and pass right through to the other side (second photo below). Count the number of loops on the hook to maintain the correct number of stitches in each row. (It’s easy to miss the last stitch if you are not counting!)
-
Yarn over, and pull through to the front, keeping the loop on the hook.
-
Continue down the row.
-
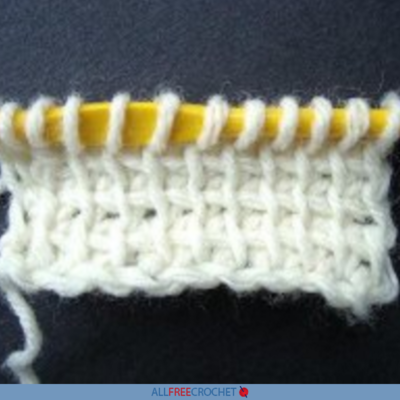
This image shows 4 rows of Tunisian stitch completed, viewed from the back side.
Have you ever tried the Tunisian stitch?
Let us know what you think in the comment section!


