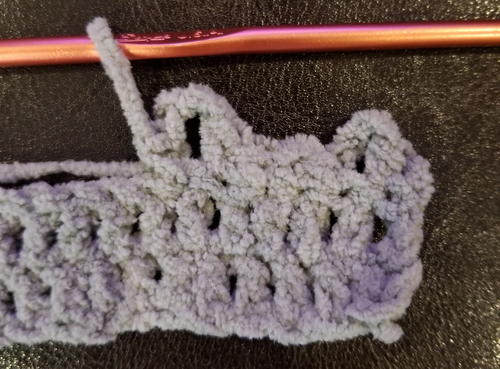
Crochet Picot Stitch (Video + Written Instructions)
Learn how to do a picot stitch with this simple how to crochet video and tutorial.
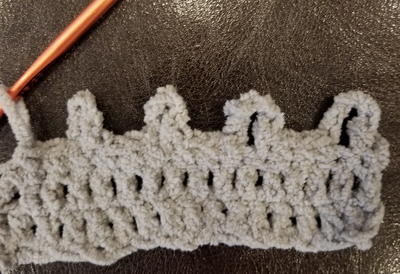
The Picot Stitch is usually used as an edging, added onto a finished garment. There are patterns that use this crochet stitch in combination with other special stitches to form a beautiful and unique square or afghan.
The picot stitch can seem complicated, but it's really quite simple when you practice it since it's just a combination of single crochet stitches and chain stitches.
As a rule of thumb, the larger and more noticeable you want your scalloped picot edge to be, the more chains you'll add between the single crochet stitches. The picot stitch makes a fantastically simple border for crochet afghans and a wonderful edging for the hems of sweaters and top patterns.
Subscribe to the Hooked on Crochet newsletter for more great patterns!
How to Crochet a Picot Stitch
Small Picot Stitch
-
Work along the edge of a finished item. (To make a length of picot edge to add to a ready-to-wear purchased item, begin with a chain, or a strip of single crochet or double crochet.)
-
Single crochet in the first stitch.
-
Chain 3, single crochet in the next stitch.
-
Single crochet in the next 3 stitches.
-
Chain 3, single crochet in the next stitch. (Picot formed).
-
Repeat step 4 across the row.
Medium Picot Stitch
-
Repeat the steps above for a small picot stitch, except chain 5 instead of 3.
-
To make a slightly flared picot edge, as shown in the left two stitches in the photo below, do the sequence of single crochet, chain 5, single crochet in the same stitch.
-
This will flare out slightly, and could be useful for the bottoms of tank tops, or skirts, on the edges of sleeves, or hats.
What other items would you add a picot edging to?


